We moved into our new house last week. Moving with 2 kids and a dog all while being 24 weeks pregnant is exhausting but I am happy in our new home. I am happy we are out of a state of transition. I am ready to settle again, feel comfortable, feel like we are home. Amidst the boxes and bubble wrap I found my baking supplies and decided to bake something that would make our new house smell less new. I am craving holiday sweets. My internal food clock is telling me it is time for those special pies and cookies, again. So when I came across a recipe for Pumpkin Pie Oatmeal Crumb Bars by the Brown Eyed Baker, I decided to give it a shot. While the bars baked, our house smelled less like fresh paint or more like the holidays. It smelled like home.
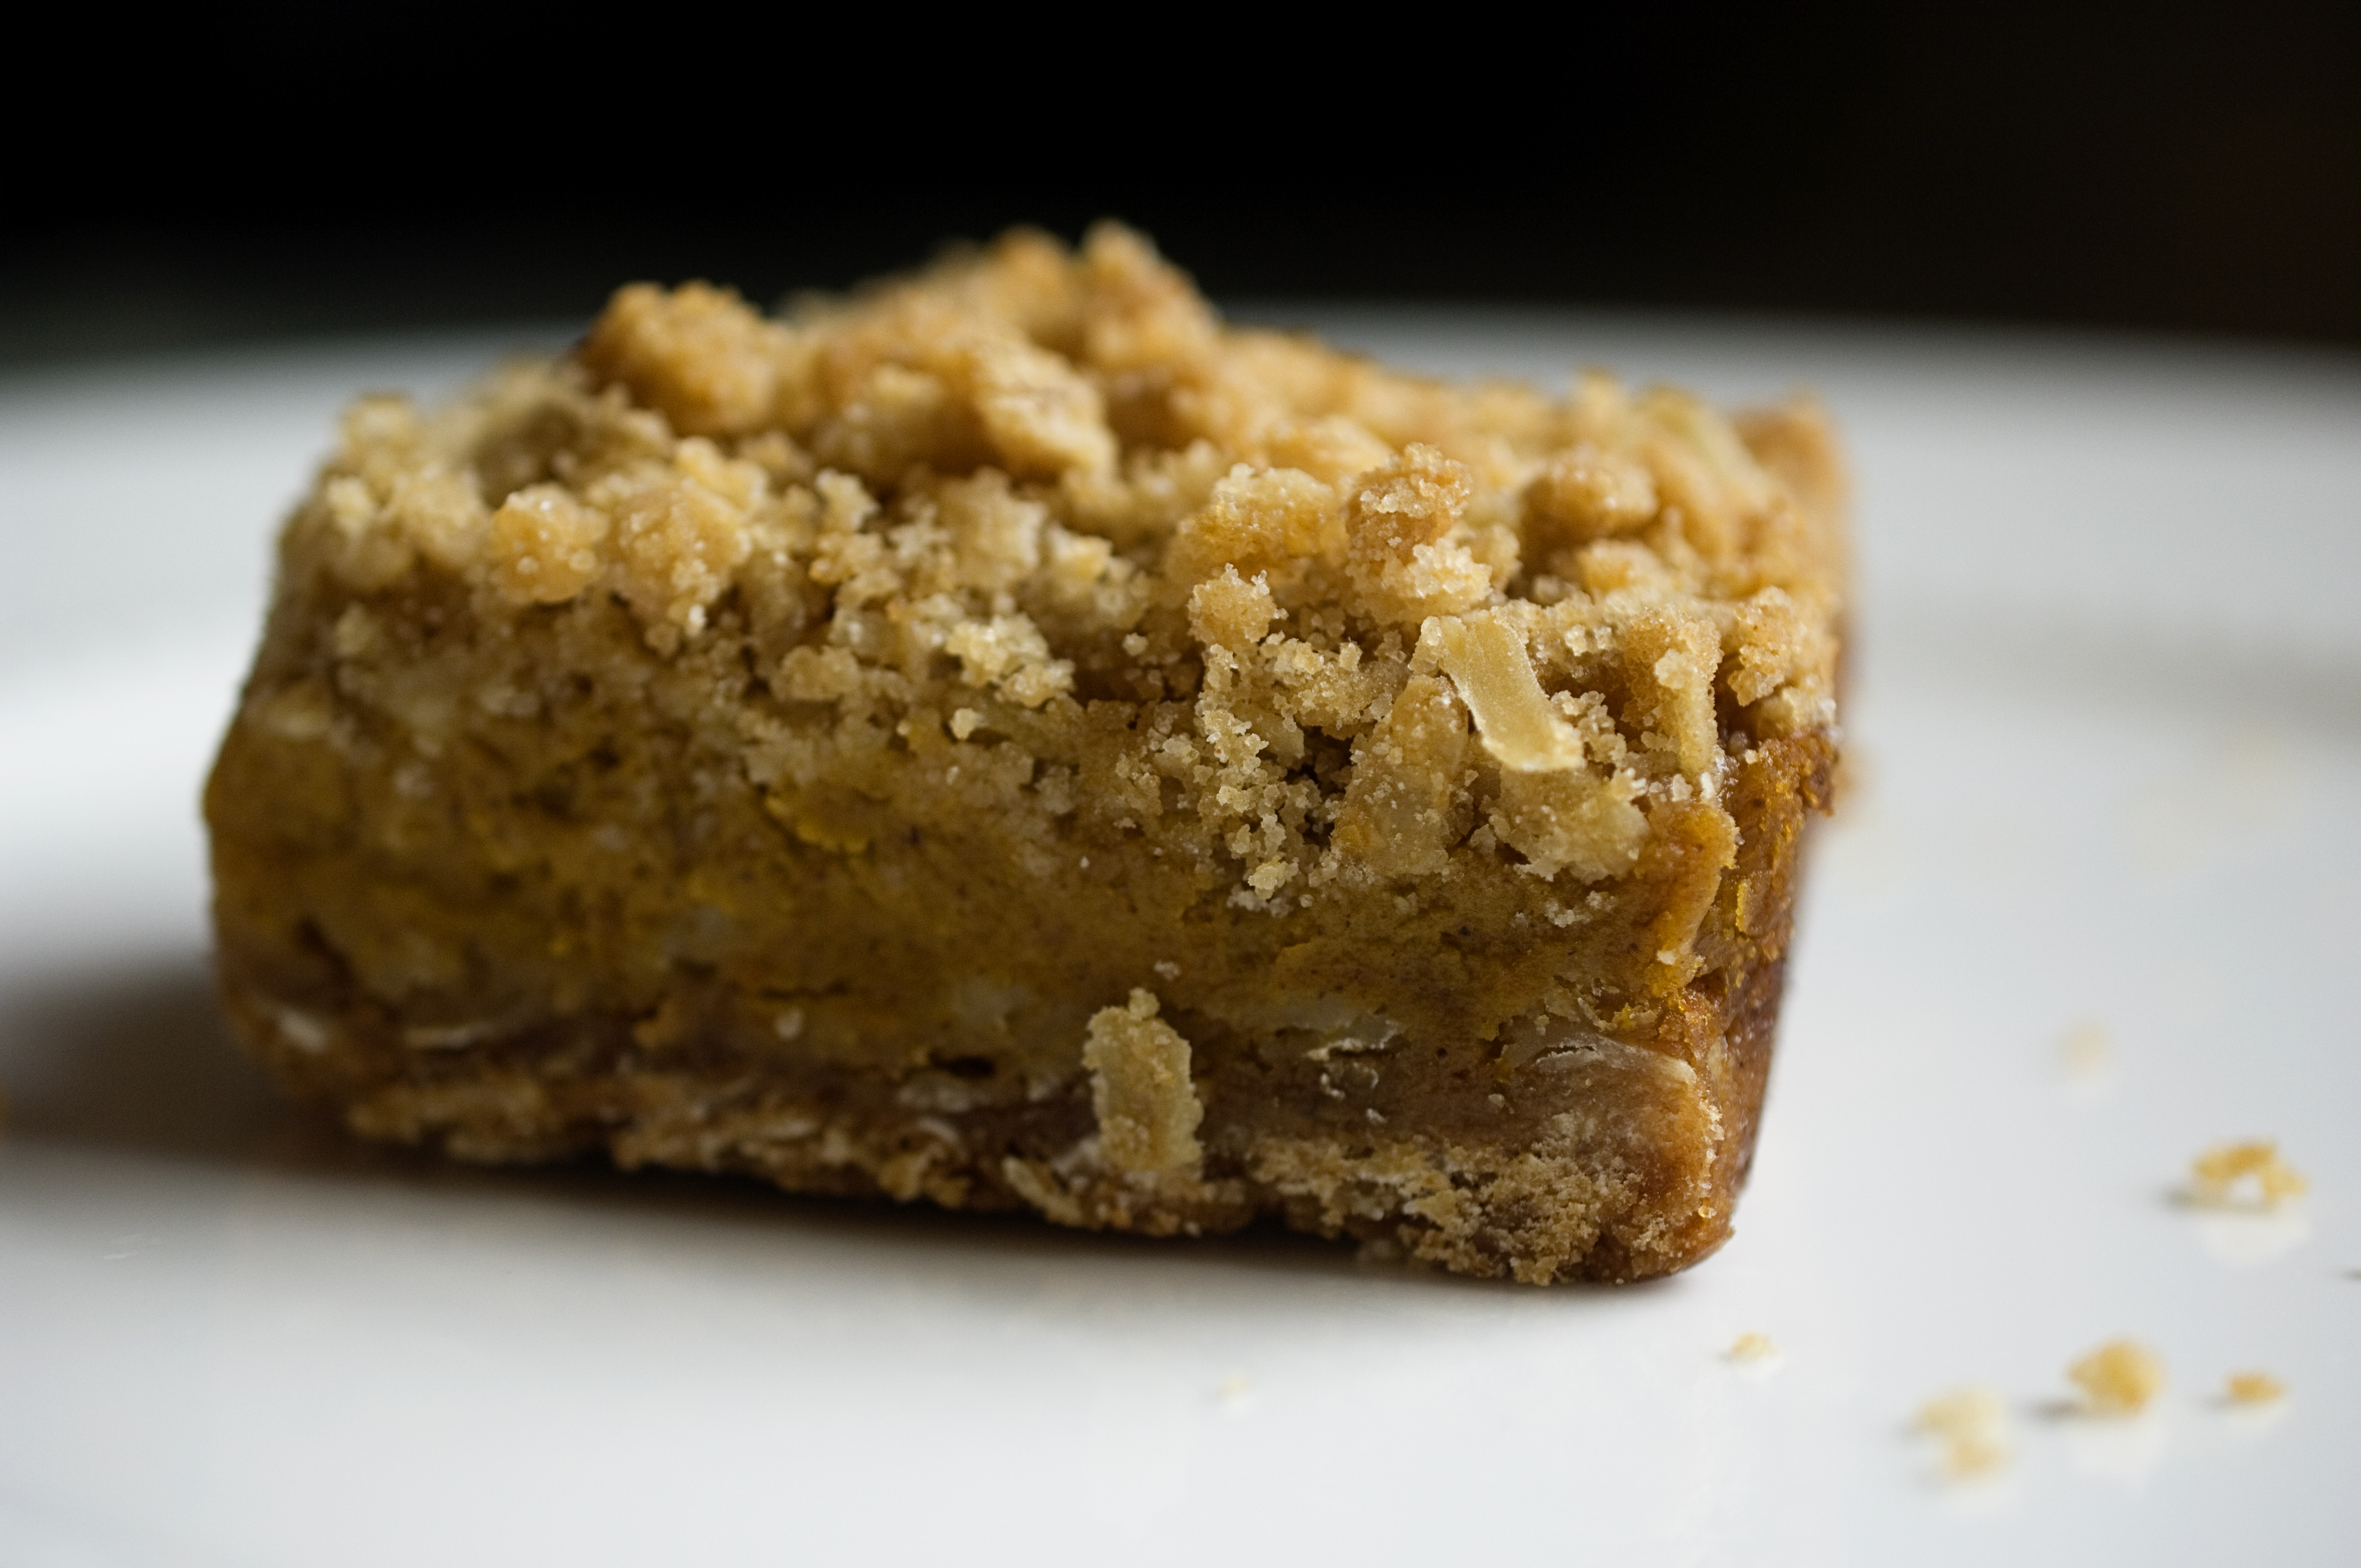
These bars taste just like pumpkin pie but with a fantastic brown butter oatmeal crumble on top. The brown butter adds a bit of nuttiness to the oatmeal crumb mixture which pairs nicely with the pure pumpkin puree and spices. The texture of the crumb is a nice contrast to the smoothness of the pumpkin filling. I served the bars chilled because they do need to set up for a couple of hours and they tasted good. The next day I pulled them out while I was making dinner because I didn’t want a cold dessert. Bubba said they tasted even better a day later. The spices really meld together after a day and the bars were closer to room temperature which helped bring out their flavor as well.

Don’t ya just love a good crumb topping? I do! I browned the butter and then added it to the oatmeal and flour mixture. Brown butter will add a slight nuttiness to baked goods. For tips on browning butter read here.
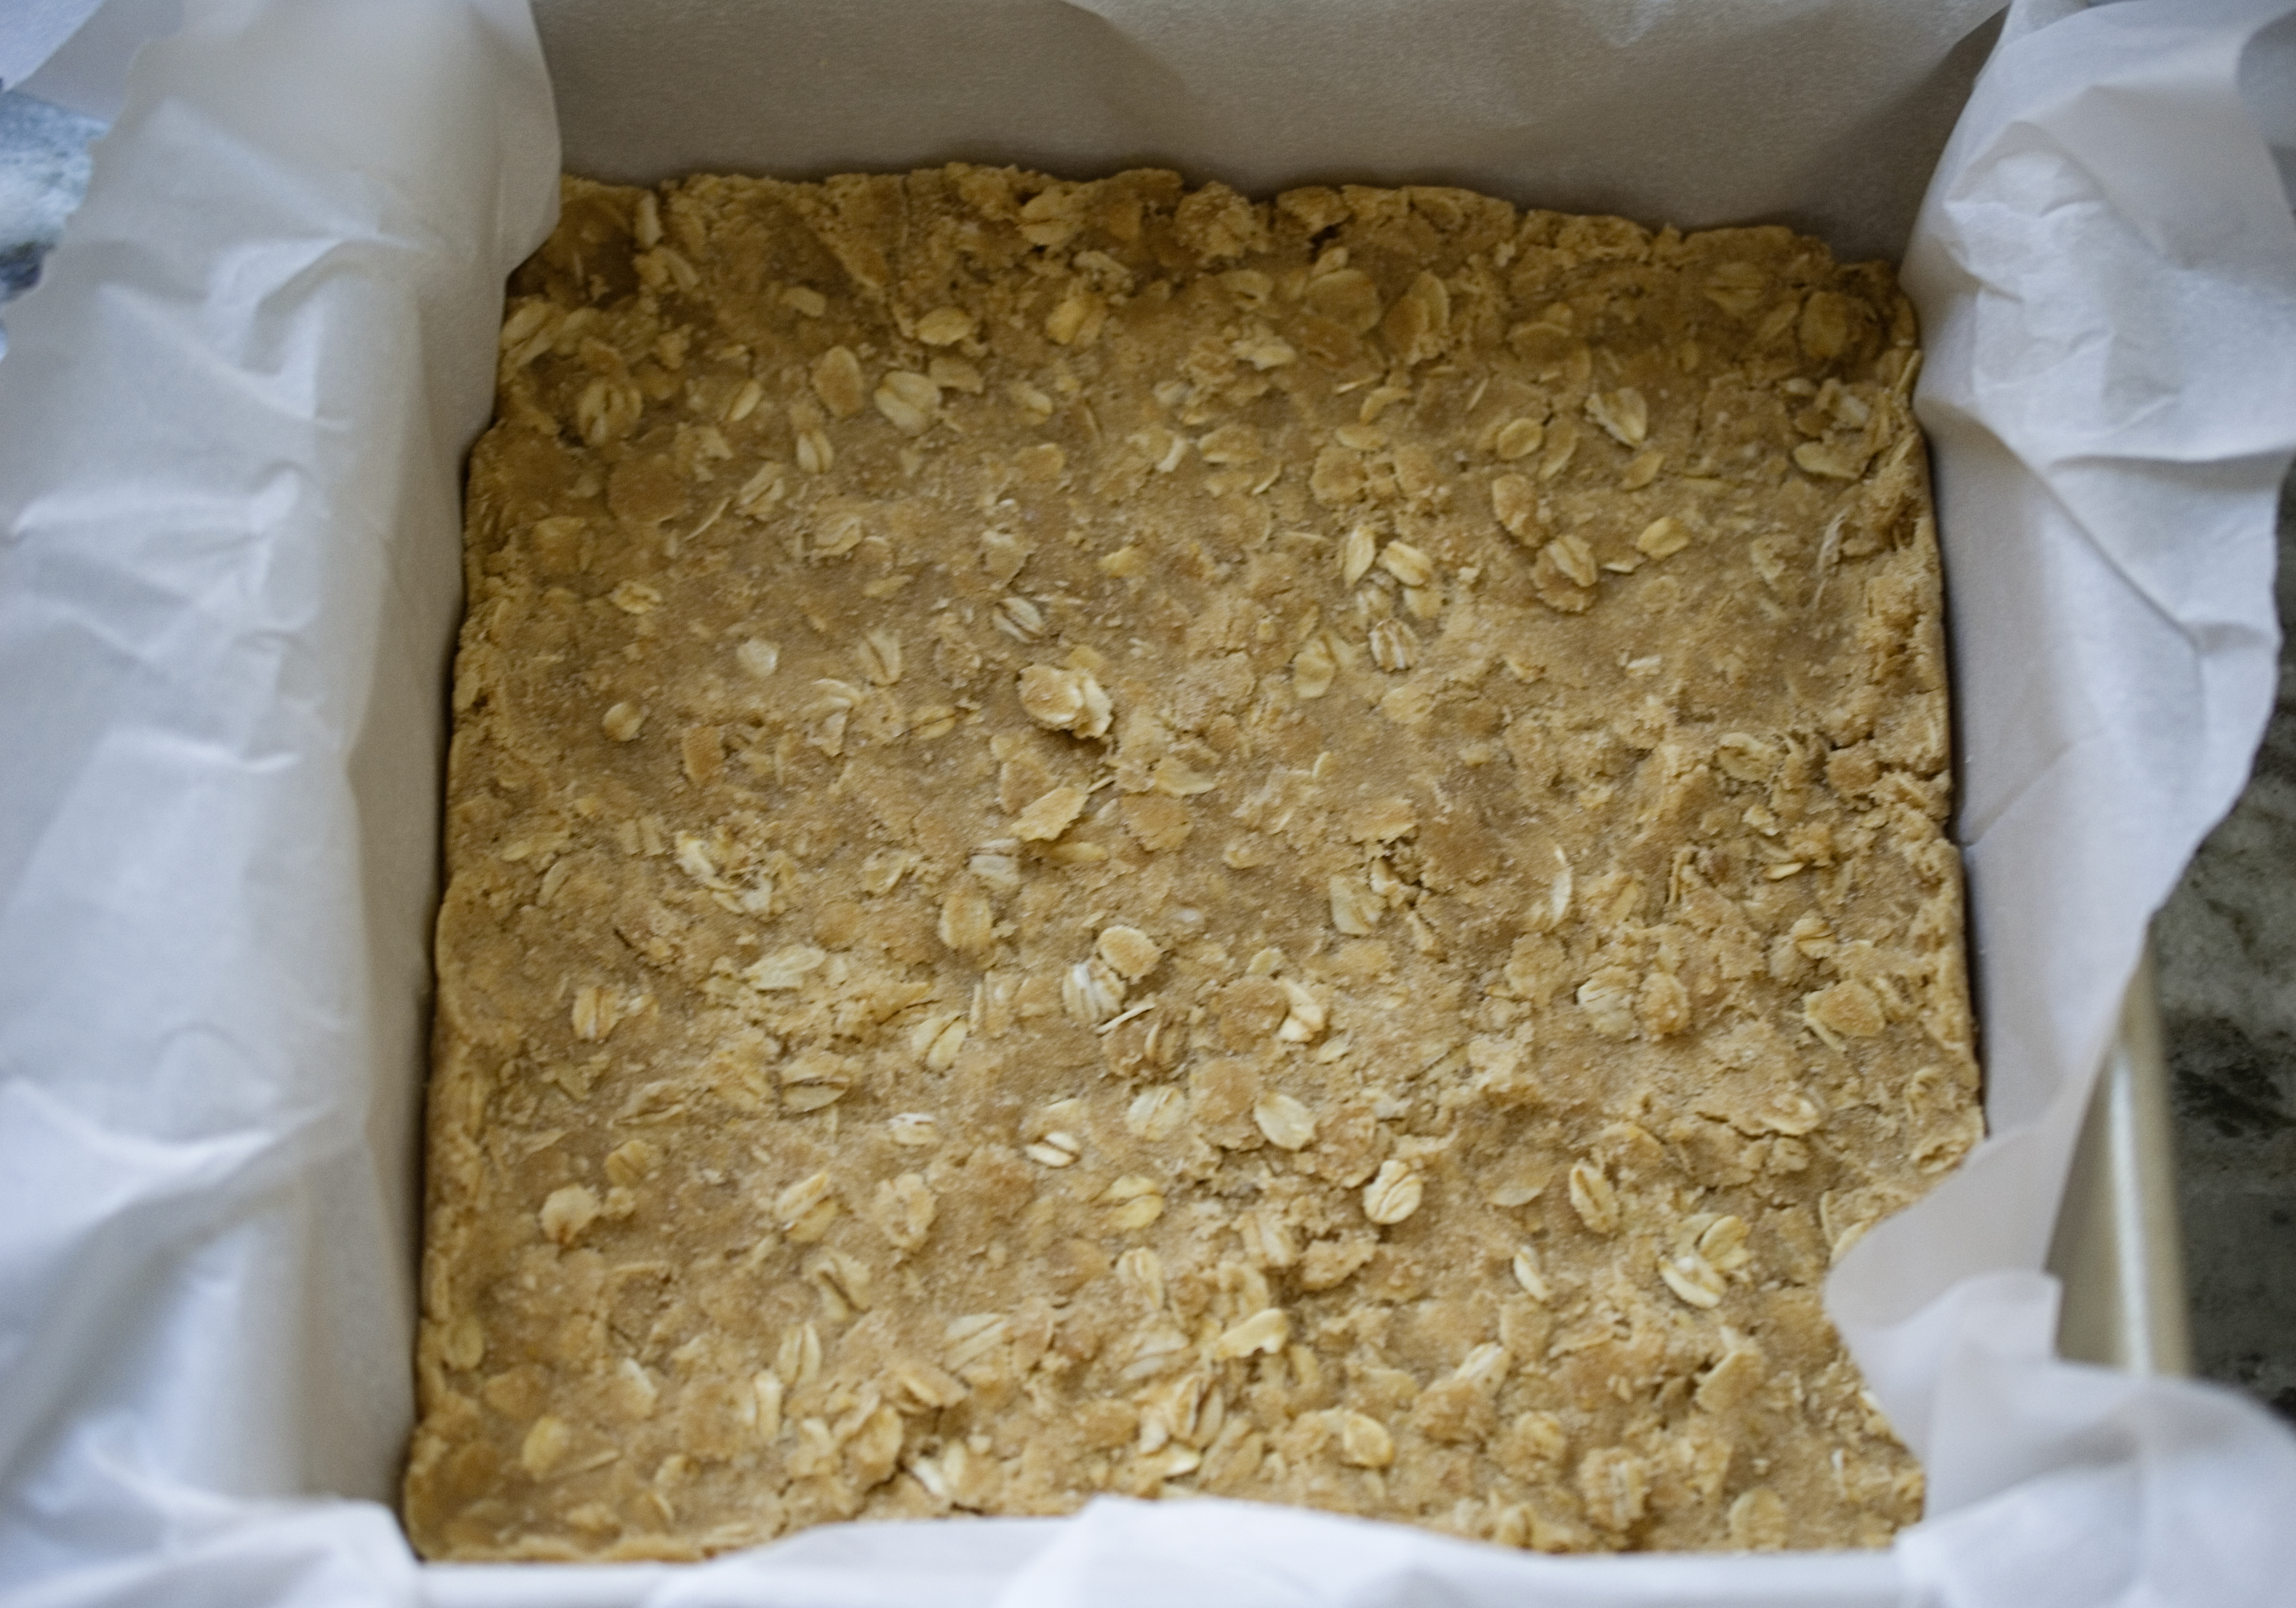 Press half of the crumb mixture evenly into an 8×8 pan and bake on the center rack at 350 for 15 minutes or until golden brown.
 While the crumb bakes, prepare the pumpkin pie filling. Be sure to whisk until very smooth. Once the crumb has finished baking remove it from the oven and pour the pumpkin pie filing over the bottom of it. Return to the oven and bake for an additional 15 minutes. Remove it from the oven and sprinkle the remaining crumb mixture on the top. Bake for another 20-25 minutes or until the crumb is golden brown and the center jiggles slightly. Starting checking it at 20 minutes.
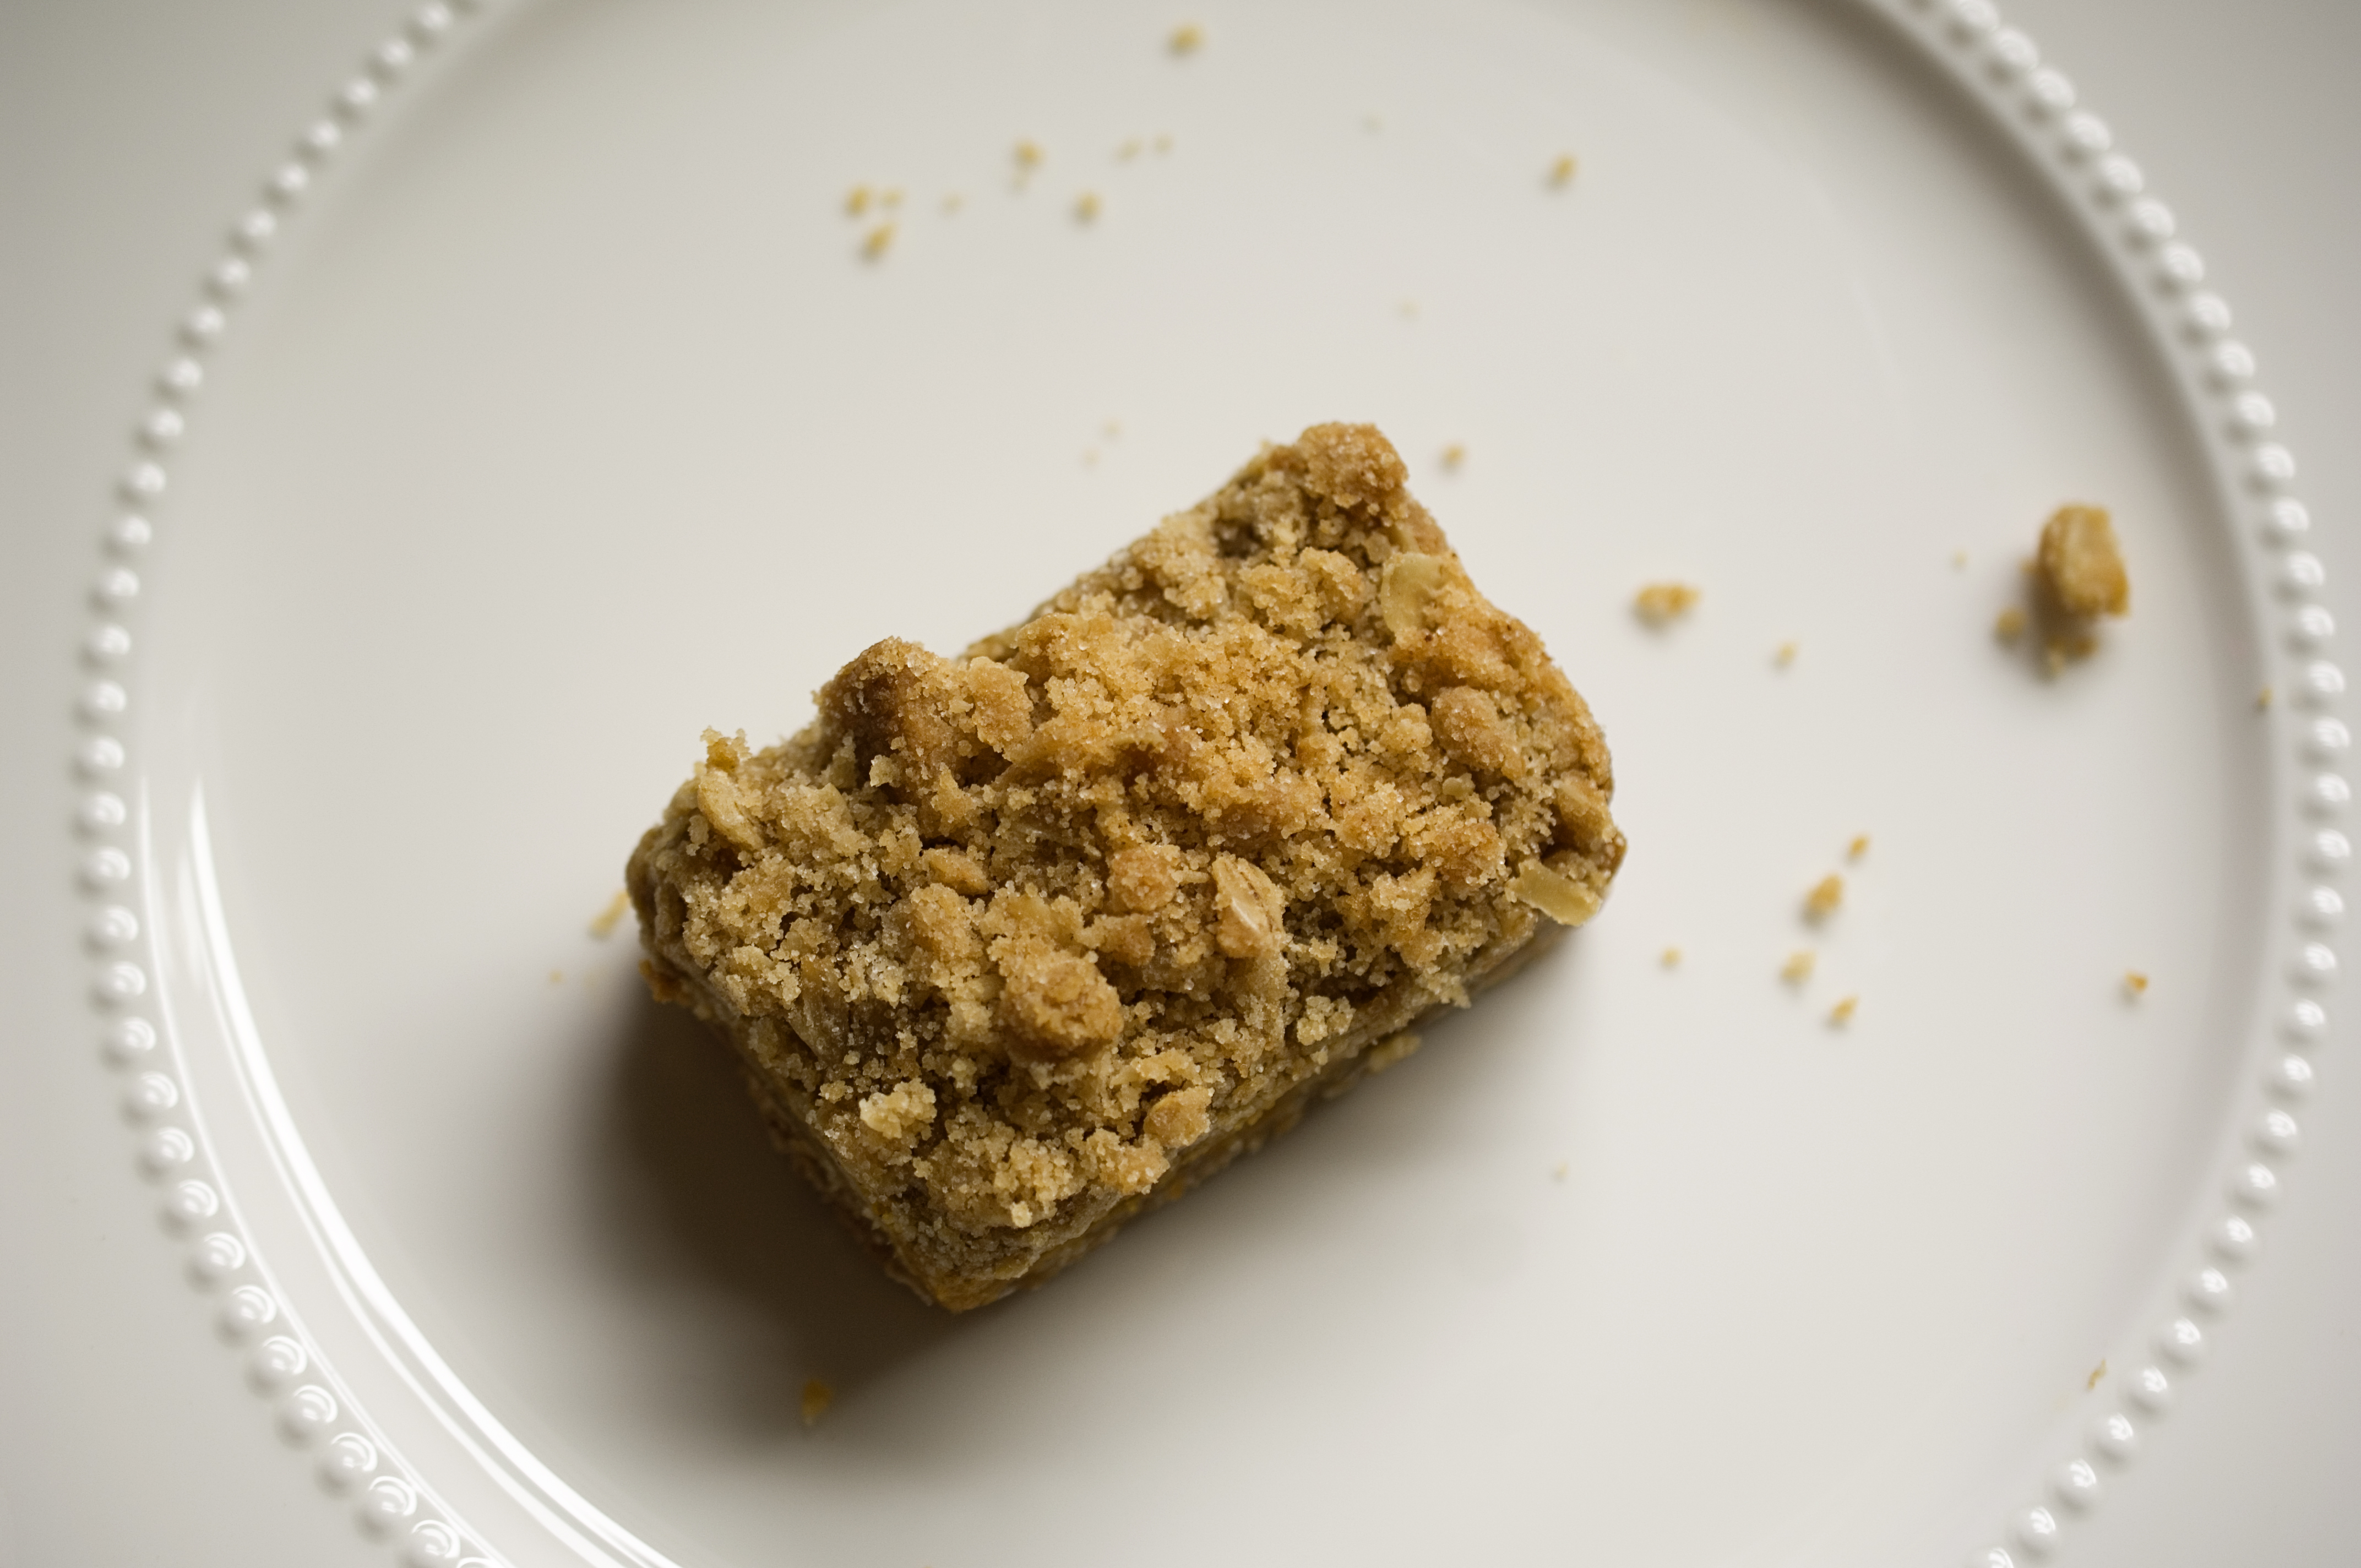
Once it has finished baking, remove from the oven and allow to cool to room temperature. Then transfer pan to refrigerator and allow to chill for at least 2 hours. Cut into squares and serve as is or with fresh whipped cream. Bars can be made a day in advance and stored in the refrigerator for up to 5 days in an air tight container. Bring these to your next holiday gathering and watch your family and friends swoon!
Pumpkin Pie Bars with an Oatmeal Brown Butter Crumb
recipe slightly adapted from Brown Eyed Baker
Makes 16 medium size bars
Ingredients:
For the Oatmeal Brown Butter Crumb:
1¼ cups white whole wheat flour (unbleached, all-purpose flour will work as well)
1¼ cups old fashion oats
½ teaspoon baking soda
½ teaspoon salt
½ cup granulated sugar
½ cup light brown sugar
¾ cup unsalted butter, melted, browned and cooled slightly
1 teaspoon vanilla extract
For the Pumpkin Pie Filling
¼ cup granulated sugar
¼ cup light brown sugar
1 teaspoon ground cinnamon
½ teaspoon ground nutmeg
¼ teaspoon ground ginger
1 pinch ground cloves
¼ teaspoon salt
1 egg
1 egg yolk
½ teaspoon vanilla extract
1¼ cups canned pumpkin
⅓ cup evaporated milk
Directions:
First make the oatmeal crumb. Pre-heat your oven to 350 and adjust racks to center and upper positions. Line an 8×8 baking pan with parchment paper, allowing the paper to hang over the sides. Set aside because now it is time to make this delicious crumb topping. In a medium bowl whisk together the flour, oats, sugars, baking soda and salt until thoroughly combined. Set aside. Melt your butter and whisk frequently. Once the butter has foamed watch carefully as the brown specks form and the butter turns more brown than yellow. You will know the butter has browned when it has a nutty smell to it. Remove from heat immediately so it doesn’t burn and allow to cool slightly. Add the melted butter and vanilla extract to the crumb mixture and stir until completely moist. It may be easier to stir the mixture with a fork. Press half of the mixture evenly into the prepared pan and bake on the center rack for 15 minutes.
Now make the pumpkin filling. In a medium bowl whisk together the sugars, spices and salt. Add the egg, egg yolk and vanilla until thoroughly combined. Lastly, add the pumpkin and evaporated milk until the mixture is very smooth.
When the crust has finished baking, pour the pumpkin pie filling over the bottom and bake a for another 15 minutes. Remove from the oven and sprinkle the crumb mixture on top. Place on the upper rack and bake for an additional 20-25 minutes or until the crumb is golden brown and center only jiggles a bit. Start checking the bars after 20 minutes. Once they are baked, remove from the oven and allow to cool to room temperature. After 1 to 2 hours, place the pan in the refrigerator and chill for at least 2 hours. Cut into 16 squares and serve as is or with a dollop of fresh whipped cream. The bars can be made a day in advance and stored for up to 5 days in an air tight container, in the refrigerator. Enjoy!