I love Oreos. Lately, every time I go to the grocery store I see Halloween Oreos on display. The kids beg for them, but I say no. I am so tempted to buy them but I resist because I have a problem with this cookie. I can’t have just one. I need to have many usually with a cold glass of milk. I am not sure if it is the processed cream filling or the perfectly crunchy cookie that gets me every time. Either way I avoid them.
Months ago I found a recipe for homemade Oreos in Joanne Chang’s Flour: Spectacular Recipes from Boston’s Flour Bakery + Café and I thought this could be dangerous. Typically, for this holiday, I make sugar cookies, pull out the Halloween cookie cutters and let the kids go nuts. This year I decided to try something different because sometimes I have to shake things up a bit. When C watched me put a few drops of orange food dye into the cream filling, her eyes widen and she asked me “are you making Halloween Oreos?” When I told her yes, she nearly collapsed with excitement. She couldn’t wait to try them and neither could I.
Chang’s recipe for homemade Oreos is not nearly as sweet as the store-bought version but they are delicious. I mean really, really good. This is a very rich chocolate cookie with a fresh buttercream filling. The cookie itself is perfectly crunchy and the buttercream is not overly sweet but works so well with the intense chocolate flavor of the cookie. They are easy to make though do require some planning ahead. The dough needs to firm up at room temperature for about an hour and then rest in the fridge for another two hours.
The cookies taste best the day they are made but still taste dam good for several days if stored in an airtight container. I think nothing is better than a fresh cookie with a glass of milk. Actually, watching the kids eat them, as they tell me about their day totally unaware of the Oreo mustache that has formed around their sweet little lips is better. It’s the little things.

I made the vanilla buttercream filling first and added a few drops of Americolor food coloring. The filling will last at room temperature for up to two days or refrigerated for a week. If refrigerated bring to room temperature before spreading on the cookies.
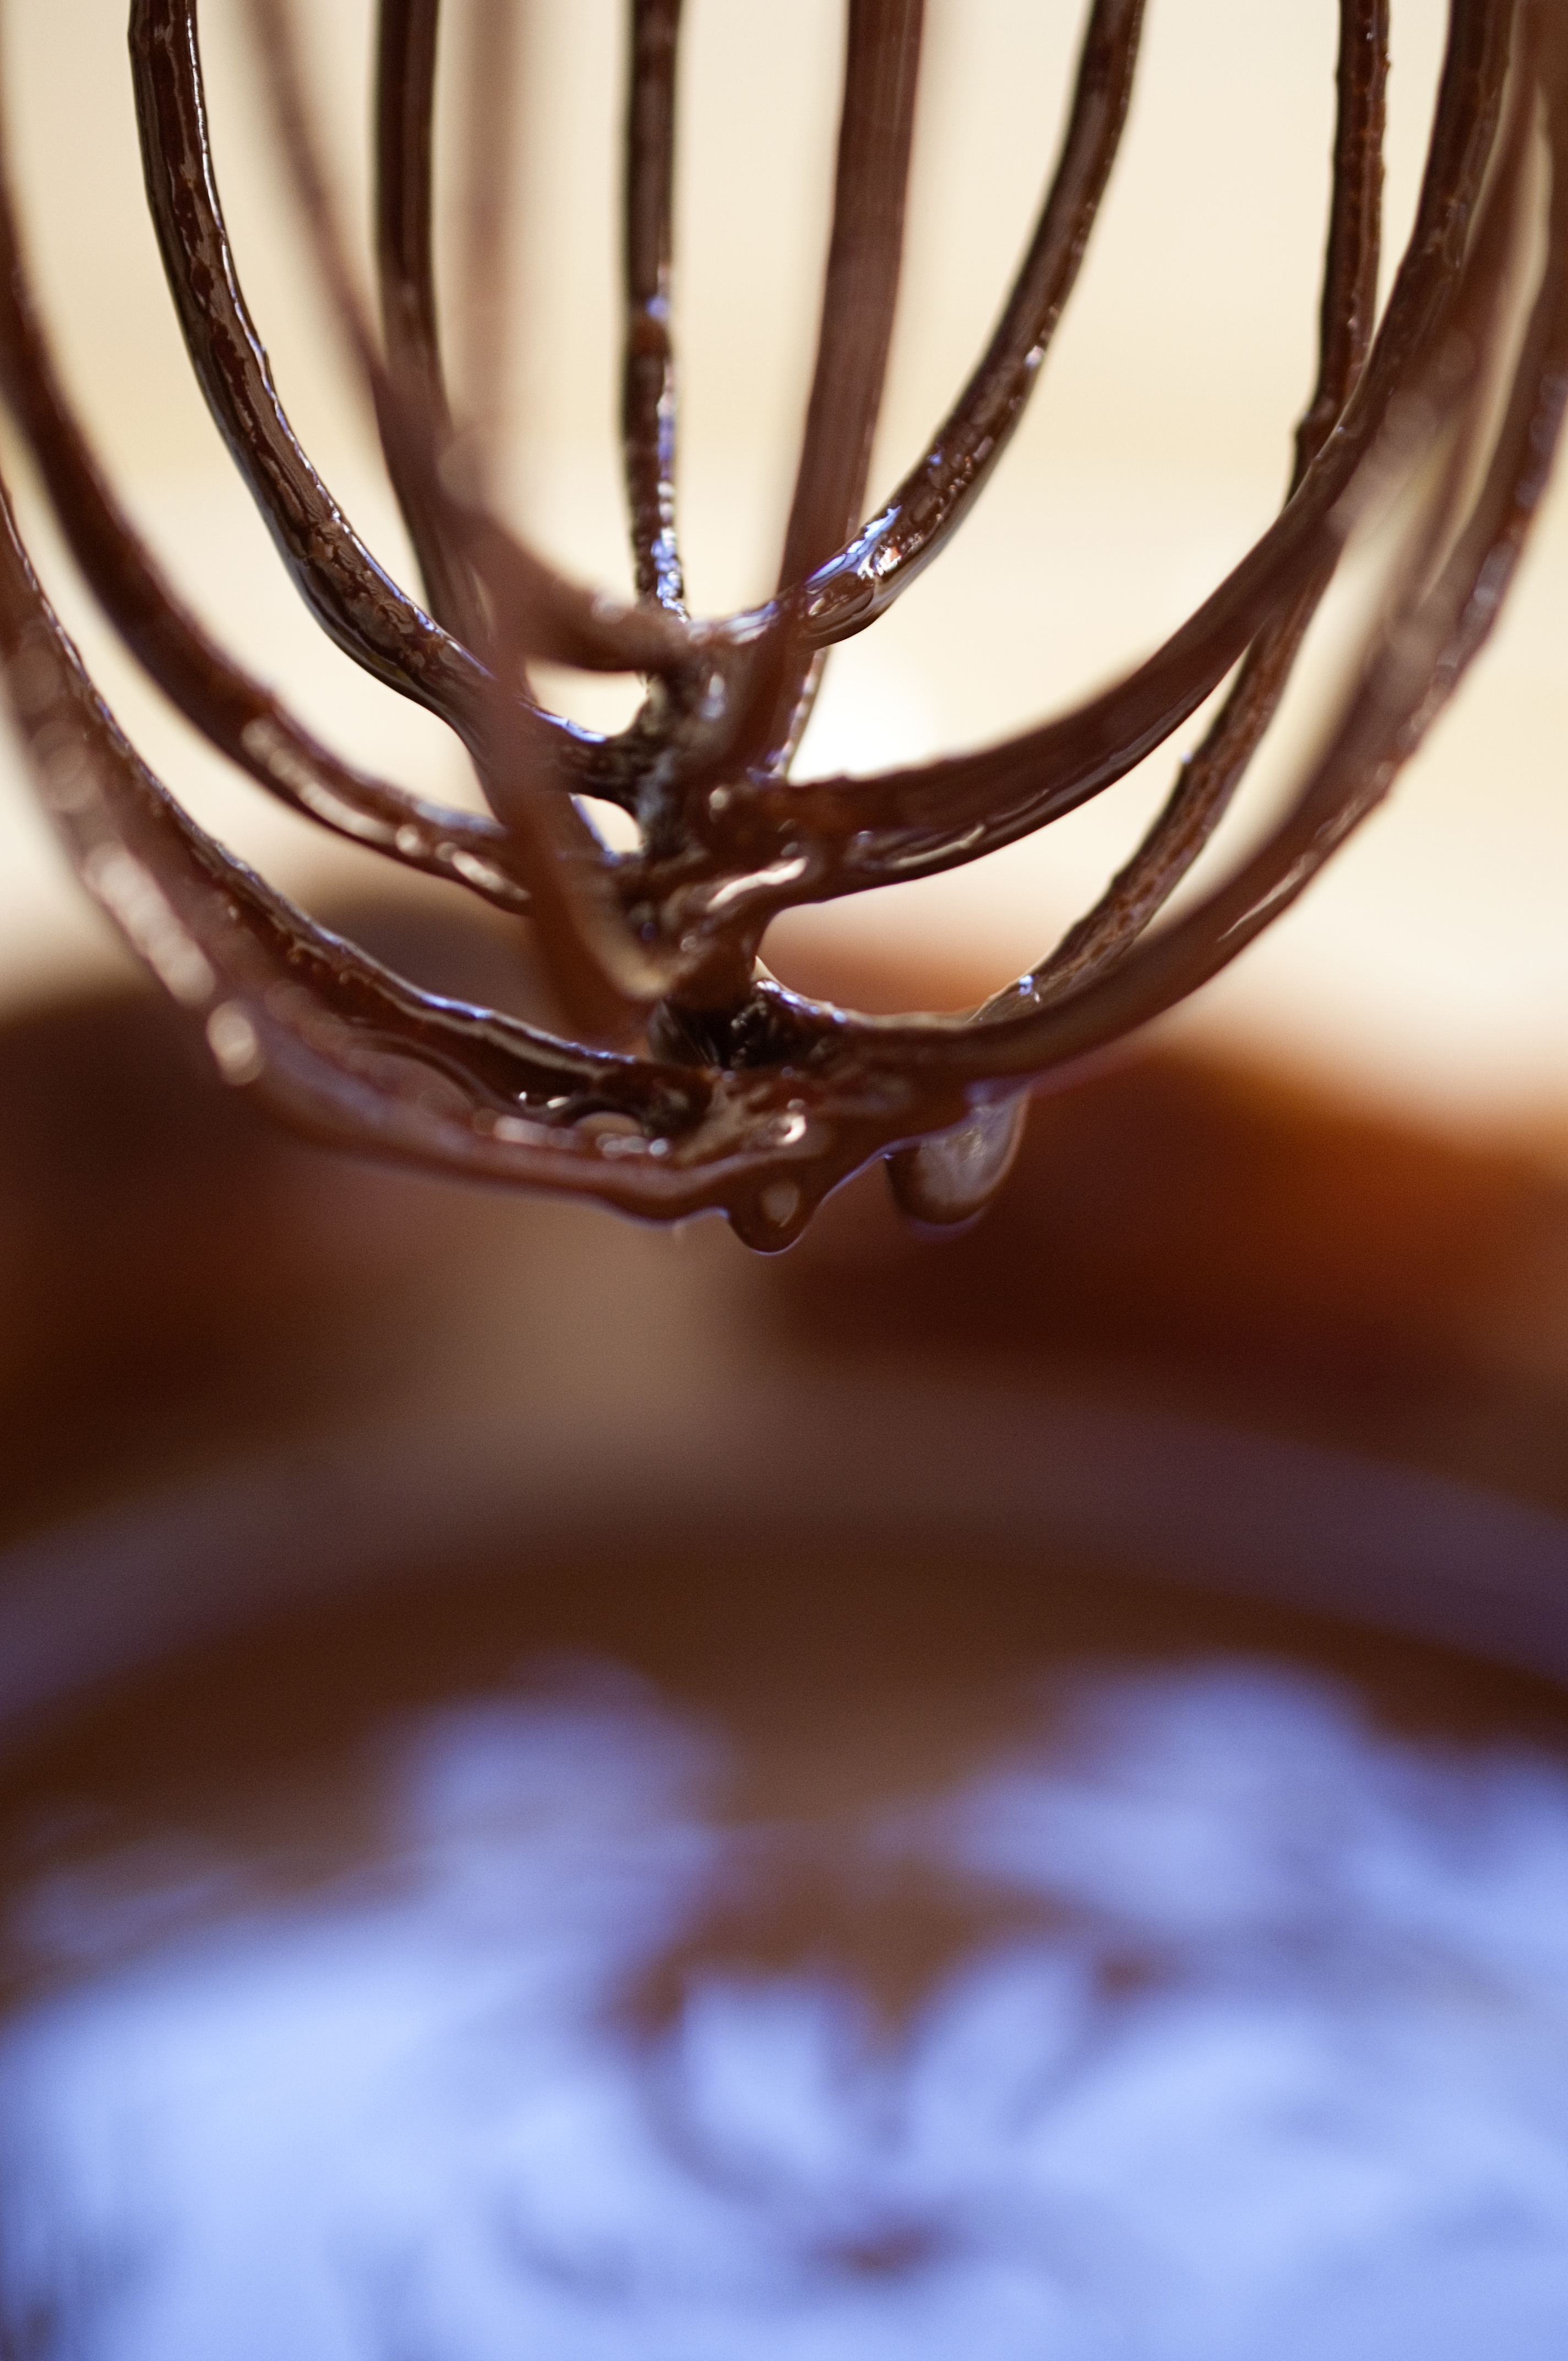
After making the cream filling, I made the cookie dough. Both melted and cooled semi-sweet chocolate chips and Dutch-processed cocoa powder are added to the melted butter sugar mixture. So good!
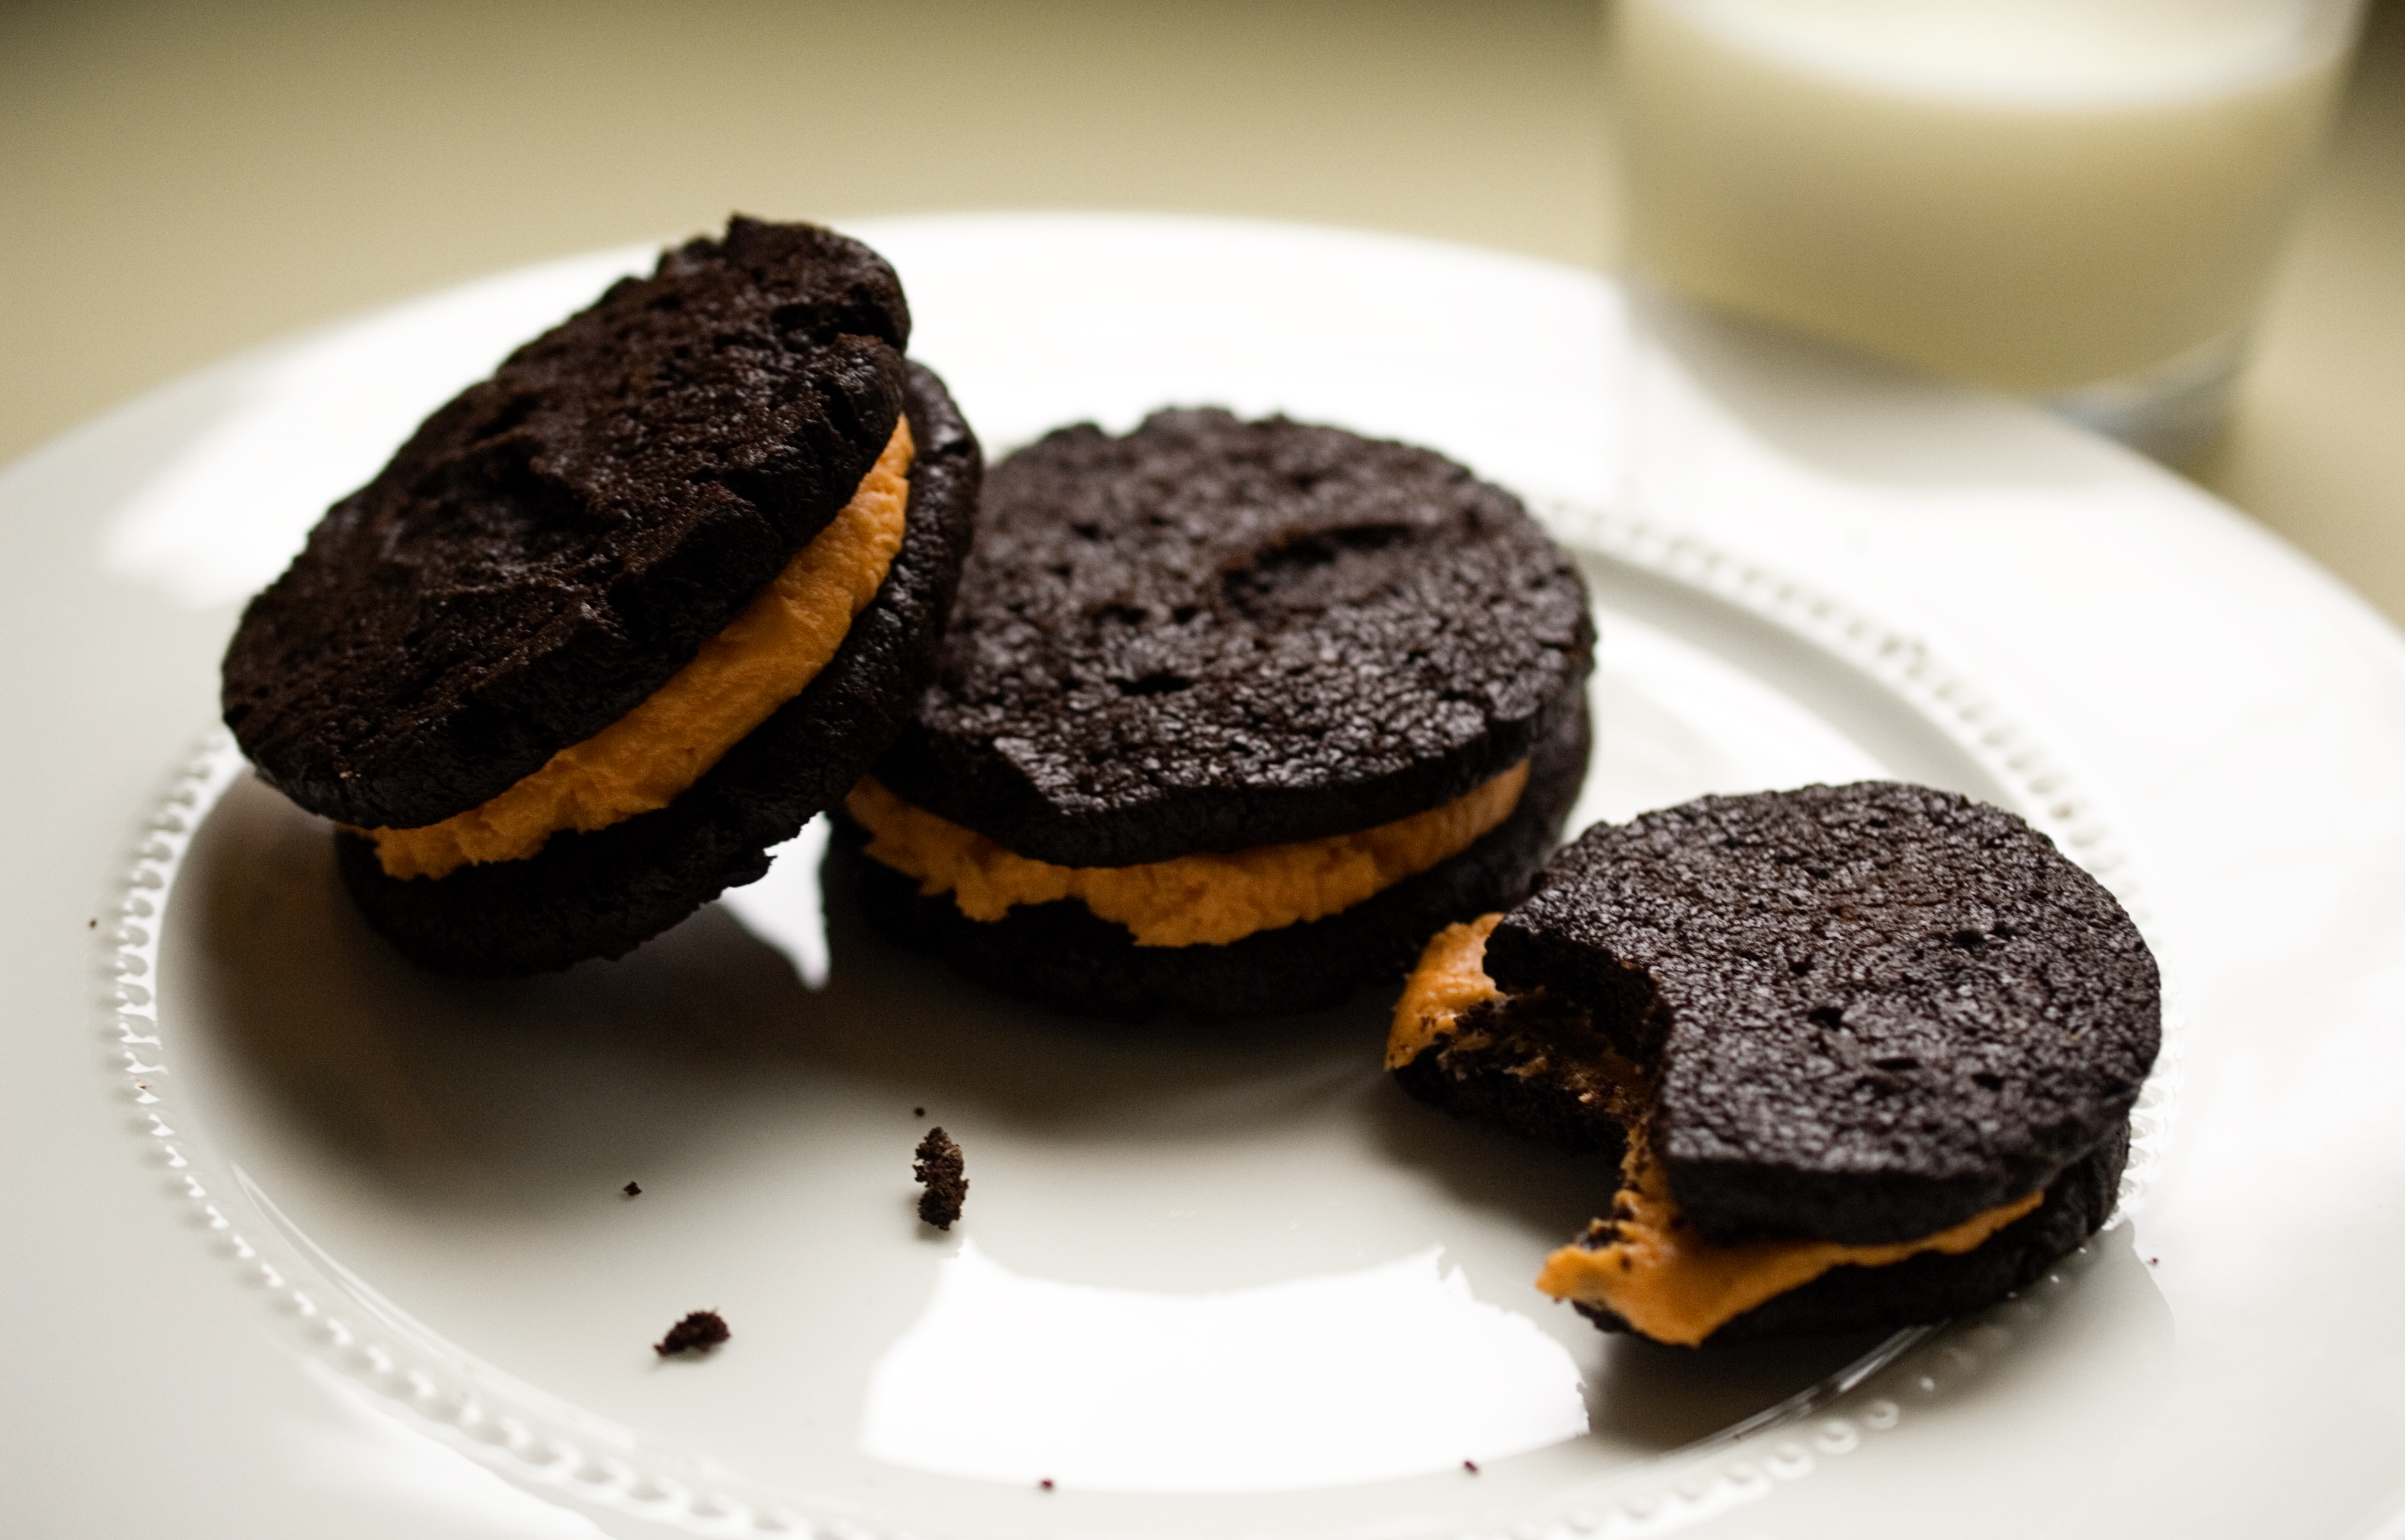
After the cookies baked for about 20 minutes and cooled a bit, I assembled them. I added a heaping tablespoonful of filling but feel free to add more! C’mon, treat yourself this Halloween. The cookies can be stored in an air tight container for several days but I bet they won’t last that long!
Homemade Halloween Oreos
Recipe from Flour: Spectacular Recipes from Boston’s Flour Bakery and Café
Make about 18 sandwich cookies
Ingredients:
1 cup or two sticks of unsalted butter, melted and cooled a bit
3/4 cup of granulated sugar
1 tsp vanilla extract
1 cup semi-sweet chocolate chips, melted and cooled a bit
1 egg
11/2 cups unbleached all-purpose flour
3/4 Dutch-processed cocoa powder
1 tsp kosher salt
1/2 tsp baking soda
Vanilla Cream Filling Ingredients:
1/2 cup or 1 stick of unsalted butter, softened
12/3 cup confectioner’s sugar
1 tsp vanilla extract
1 tbsp. milk
pinch of kosher salt
a few drops of orange food coloring
Directions:
In a large bowl, whisk together the butter and sugar until well mixed. Whisk in the vanilla and melted but cooled chocolate. Add the egg and whisk until thoroughly combined.
In a medium bowl, whisk together the flour, cocoa powder, salt and baking soda until well mixed. Stir the flour mixture into the chocolate mixture. The dough may seem like it won’t come together. If necessary use your hands to finish incorporating. The dough will seem thick and a bit dry. Let it sit a room temperature for about an hour.
Transfer dough to large square of parchment paper and use your hands to the shape the dough into a 10 inch log about 21/2 inches in diameter. Roll the parchment paper around the dough and roll the log into a longer smoother log, still keeping it at 21/2 inch diameter. Refrigerate for about 2 hours or wrap it in plastic wrap and store it in the refrigerator for about a week.
Pre-heat your oven to 325 and line a baking sheet with parchment paper. Cut the dough into 1/4 inch slices and place them about an 1 inch apart. Bake for about 20 minutes but start checking them after 16 minutes. When they feel firm remove them from the oven. Let the cookies cool on the baking sheet to slightly warm or room temperature.
Do not fill the cookies when they are hot!
While the cookies are cooling make the vanilla cream filling. Using a stand mixer with a paddle attachment, beat the butter on low-speed until totally smooth and creamy. Add the confectioner’s sugar and vanilla and beat until smooth. Add the milk, salt and about 3 drops of orange food coloring and beat until smooth. The filling can be stored at room temperature for up to two days or in the refrigerator for about a week.
Select two cookies and fill with a heaping tablespoon of filling to make a sandwich. Continue with remaining cookies. Share with family and friends, if you can!