I turned to Betty Crocker for inspiration this week. Every so often I find myself leafing through my Betty Crocker Picture Cookbook, the cookbook my grandmother gave me after Bubba and I married. “You’ll need this, it has everything.” she promised. At first glance, I judged the cookbook for its lack of “healthy” recipes, horrible food photography and sexist illustrations of family life. I tucked it away in our bookcase with the plan of donating it. Years passed, but Betty remained on our book shelf. I couldn’t part with her. This dated, meant for “home-makers” cookbook gave me a glimpse of a time before social media, mommy wars, barre and kale smoothies, quinoa and hemp seeds. As much as the Mad Men era illustrations of mom in heels baking a cake with 2 kids underfoot and Dad in a suit sampling her hard work with a smug look on his face enraged me, I couldn’t help but notice the common ground across generations. Women ministering to their loved ones by making delicious food. Homemaker or not, food is love, it was then and it still is today.

Angel Food Cake Delight
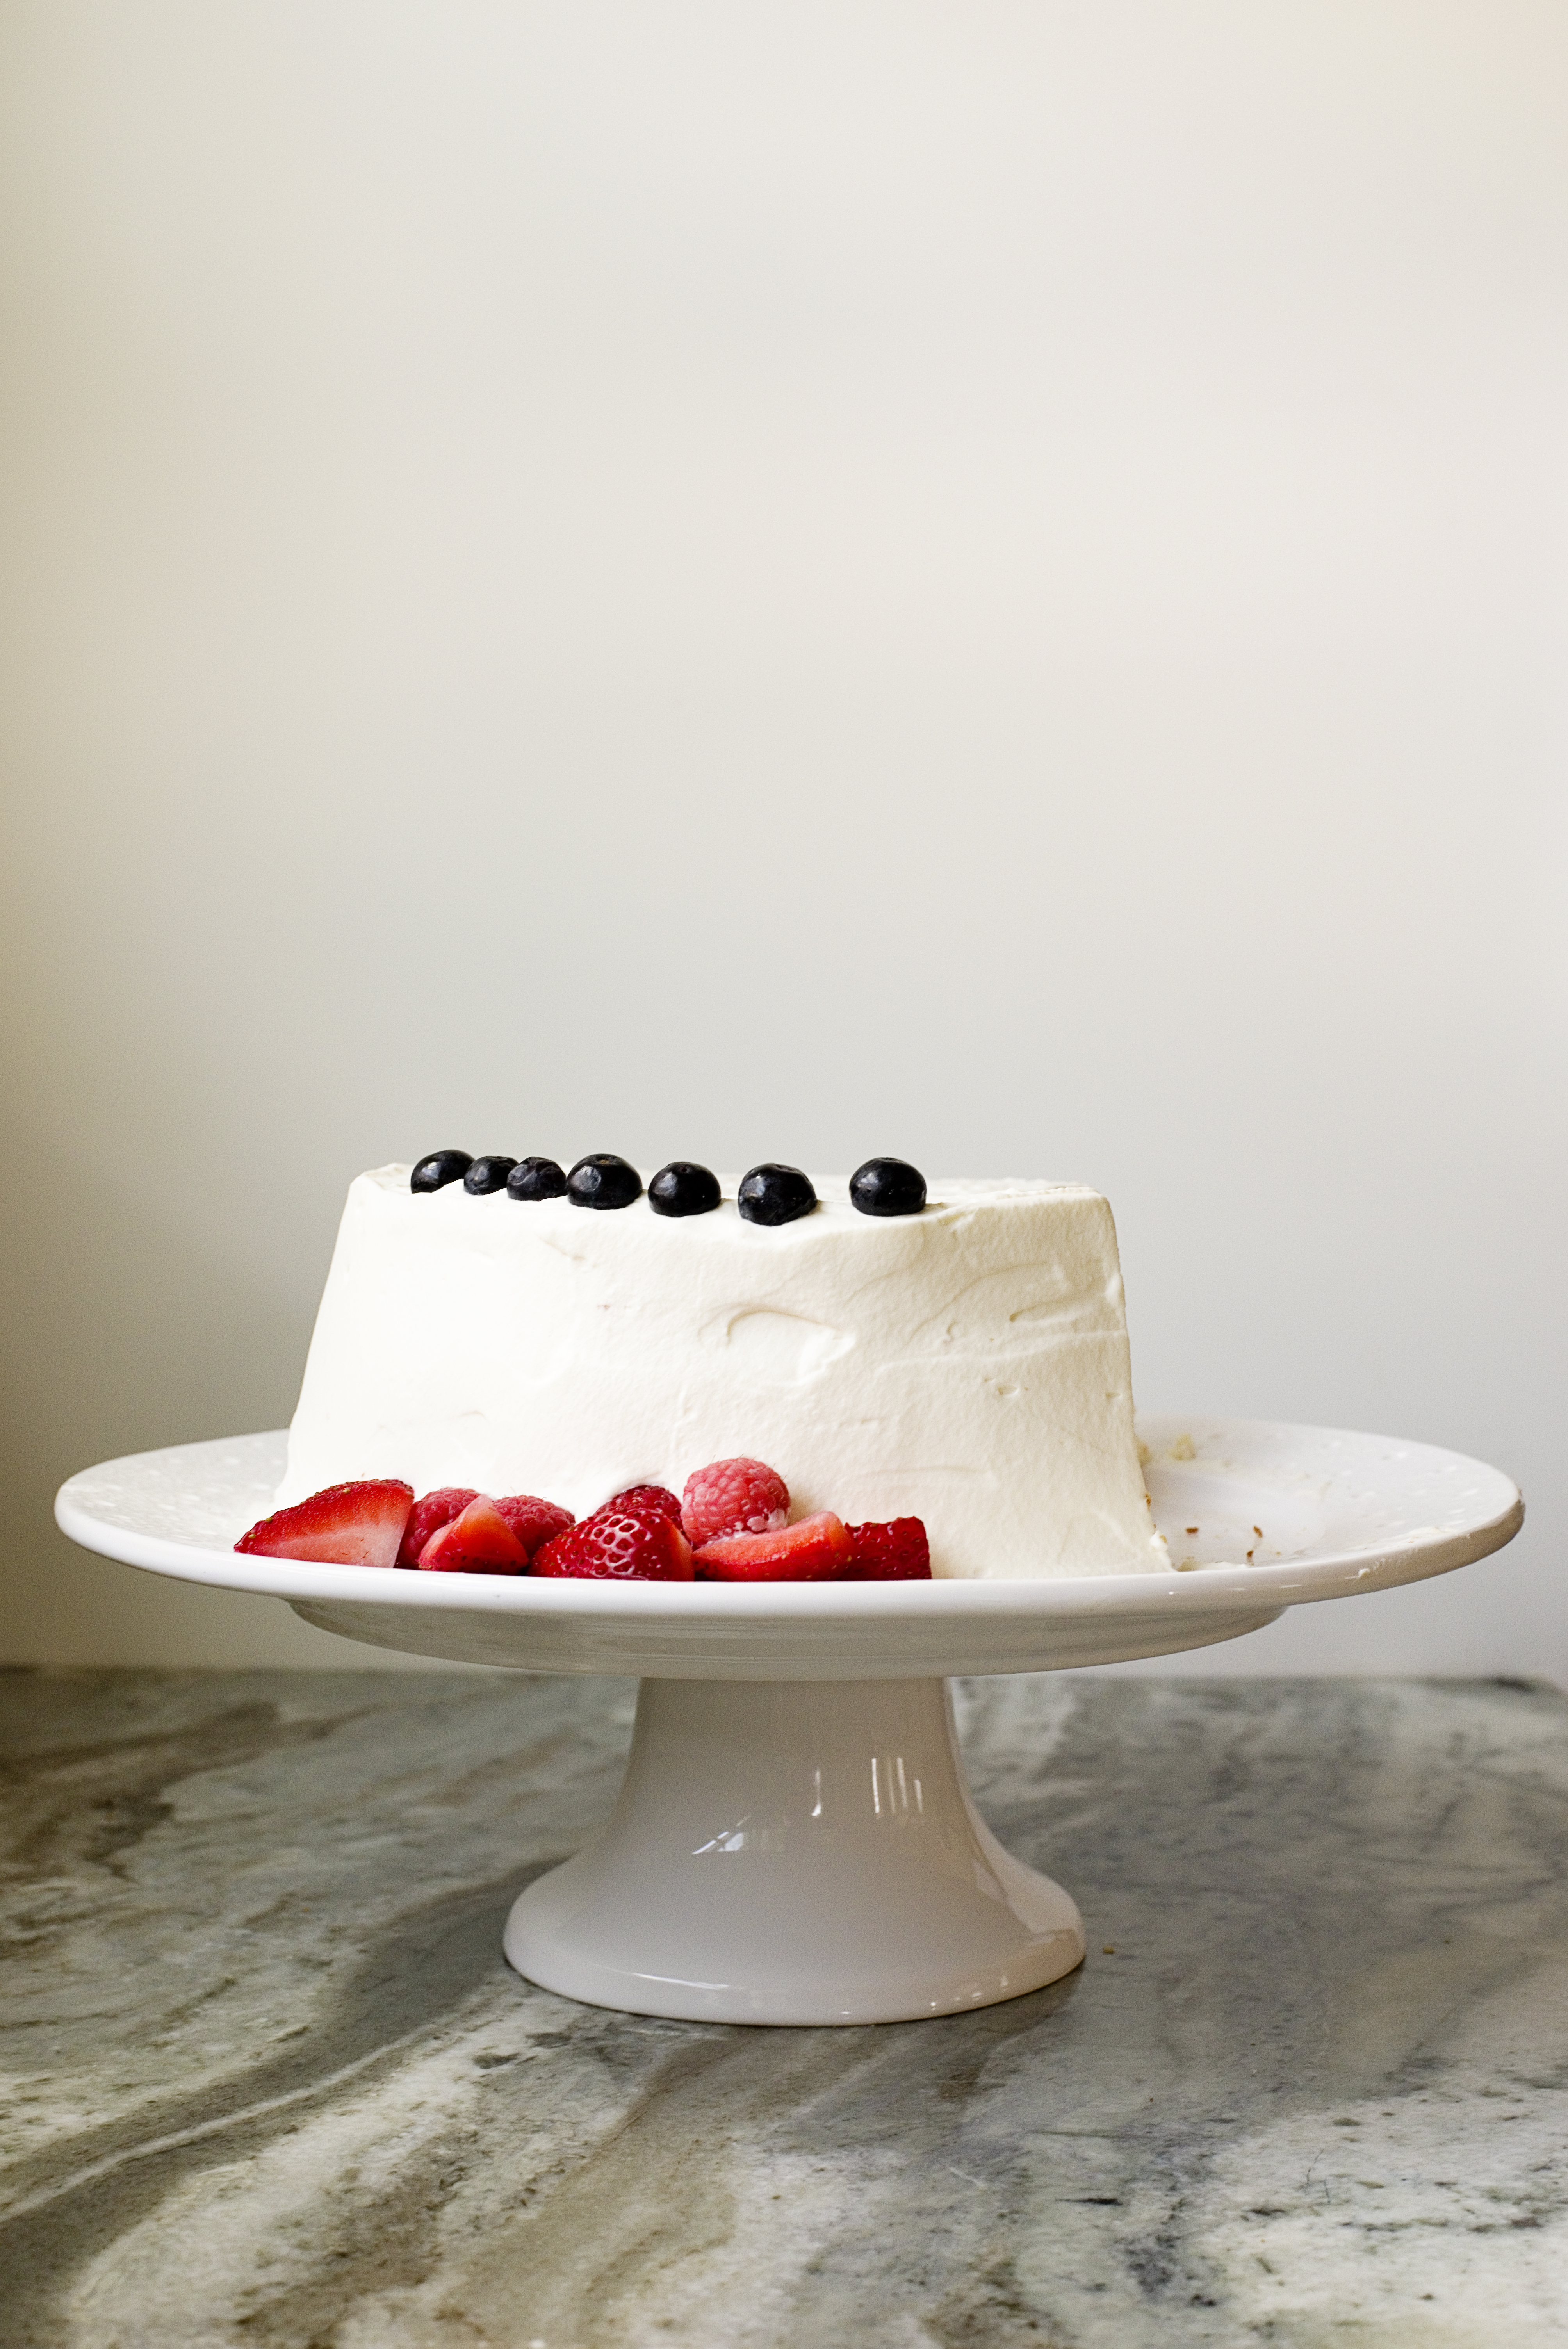
Light and airy angel food cake filled with honey whipped cream and fresh berries
Serves 10-12
Recipe barely adapted from Baking Illustrated and inspired by Betty Crocker’s Picture Cookbook
Ingredients for Angel Food Cake:
1 cup sifted cake flour
1 1/2 cups sifted sugar
12 large egg whites, at room temperature
1 teaspoon cream of tartar
1/4 teaspoon Kosher salt
1 1/2 teaspoon vanilla extract
1 1/2 teaspoon fresh lemon juice
Directions for Cake:
Move an oven rack to the lower-middle position and pre-heat your oven to 325F. Set aside an ungreased large tube pan with a removable bottom. ( If you can’t remove the bottom, line it with parchment paper.)
Whisk together the flour and 3/4 cup of the sugar in a small bowl. Place the other 3/4 cup of sugar in a small bowl and set aside.
Using a stand mixer with a whisk attachment, beat the egg whites on low-speed until they break up and begin to froth. Add the cream of tartar and salt. Turn the speed up to medium and beat until the whites form soft mounds. Beat in remaining 3/4 cup sugar, just 1 tablespoon at a time, until all the sugar is added and the whites form soft peaks and are shiny. Next add vanilla and lemon juice and beat until just combined.
Turn off the mixer and sift third of the flour/sugar mixture over the whites. Using a rubber spatula, gently fold them in. Sift the remaining flour/sugar mixture of the whites and gently fold. Scrape the batter into your pan. Smooth the top with a spatula. Gently bang the pan on the counter a few times to release any air bubbles.
Bake until the cake is golden brown and the top springs back when you touch it with your finger, about 50-60 minutes.
Remove the cake from the oven and invert it onto the prongs of the pan or use the neck of a glass bottle. Allow the cake to cool for 2 to 3 hours before removing it from the pan.
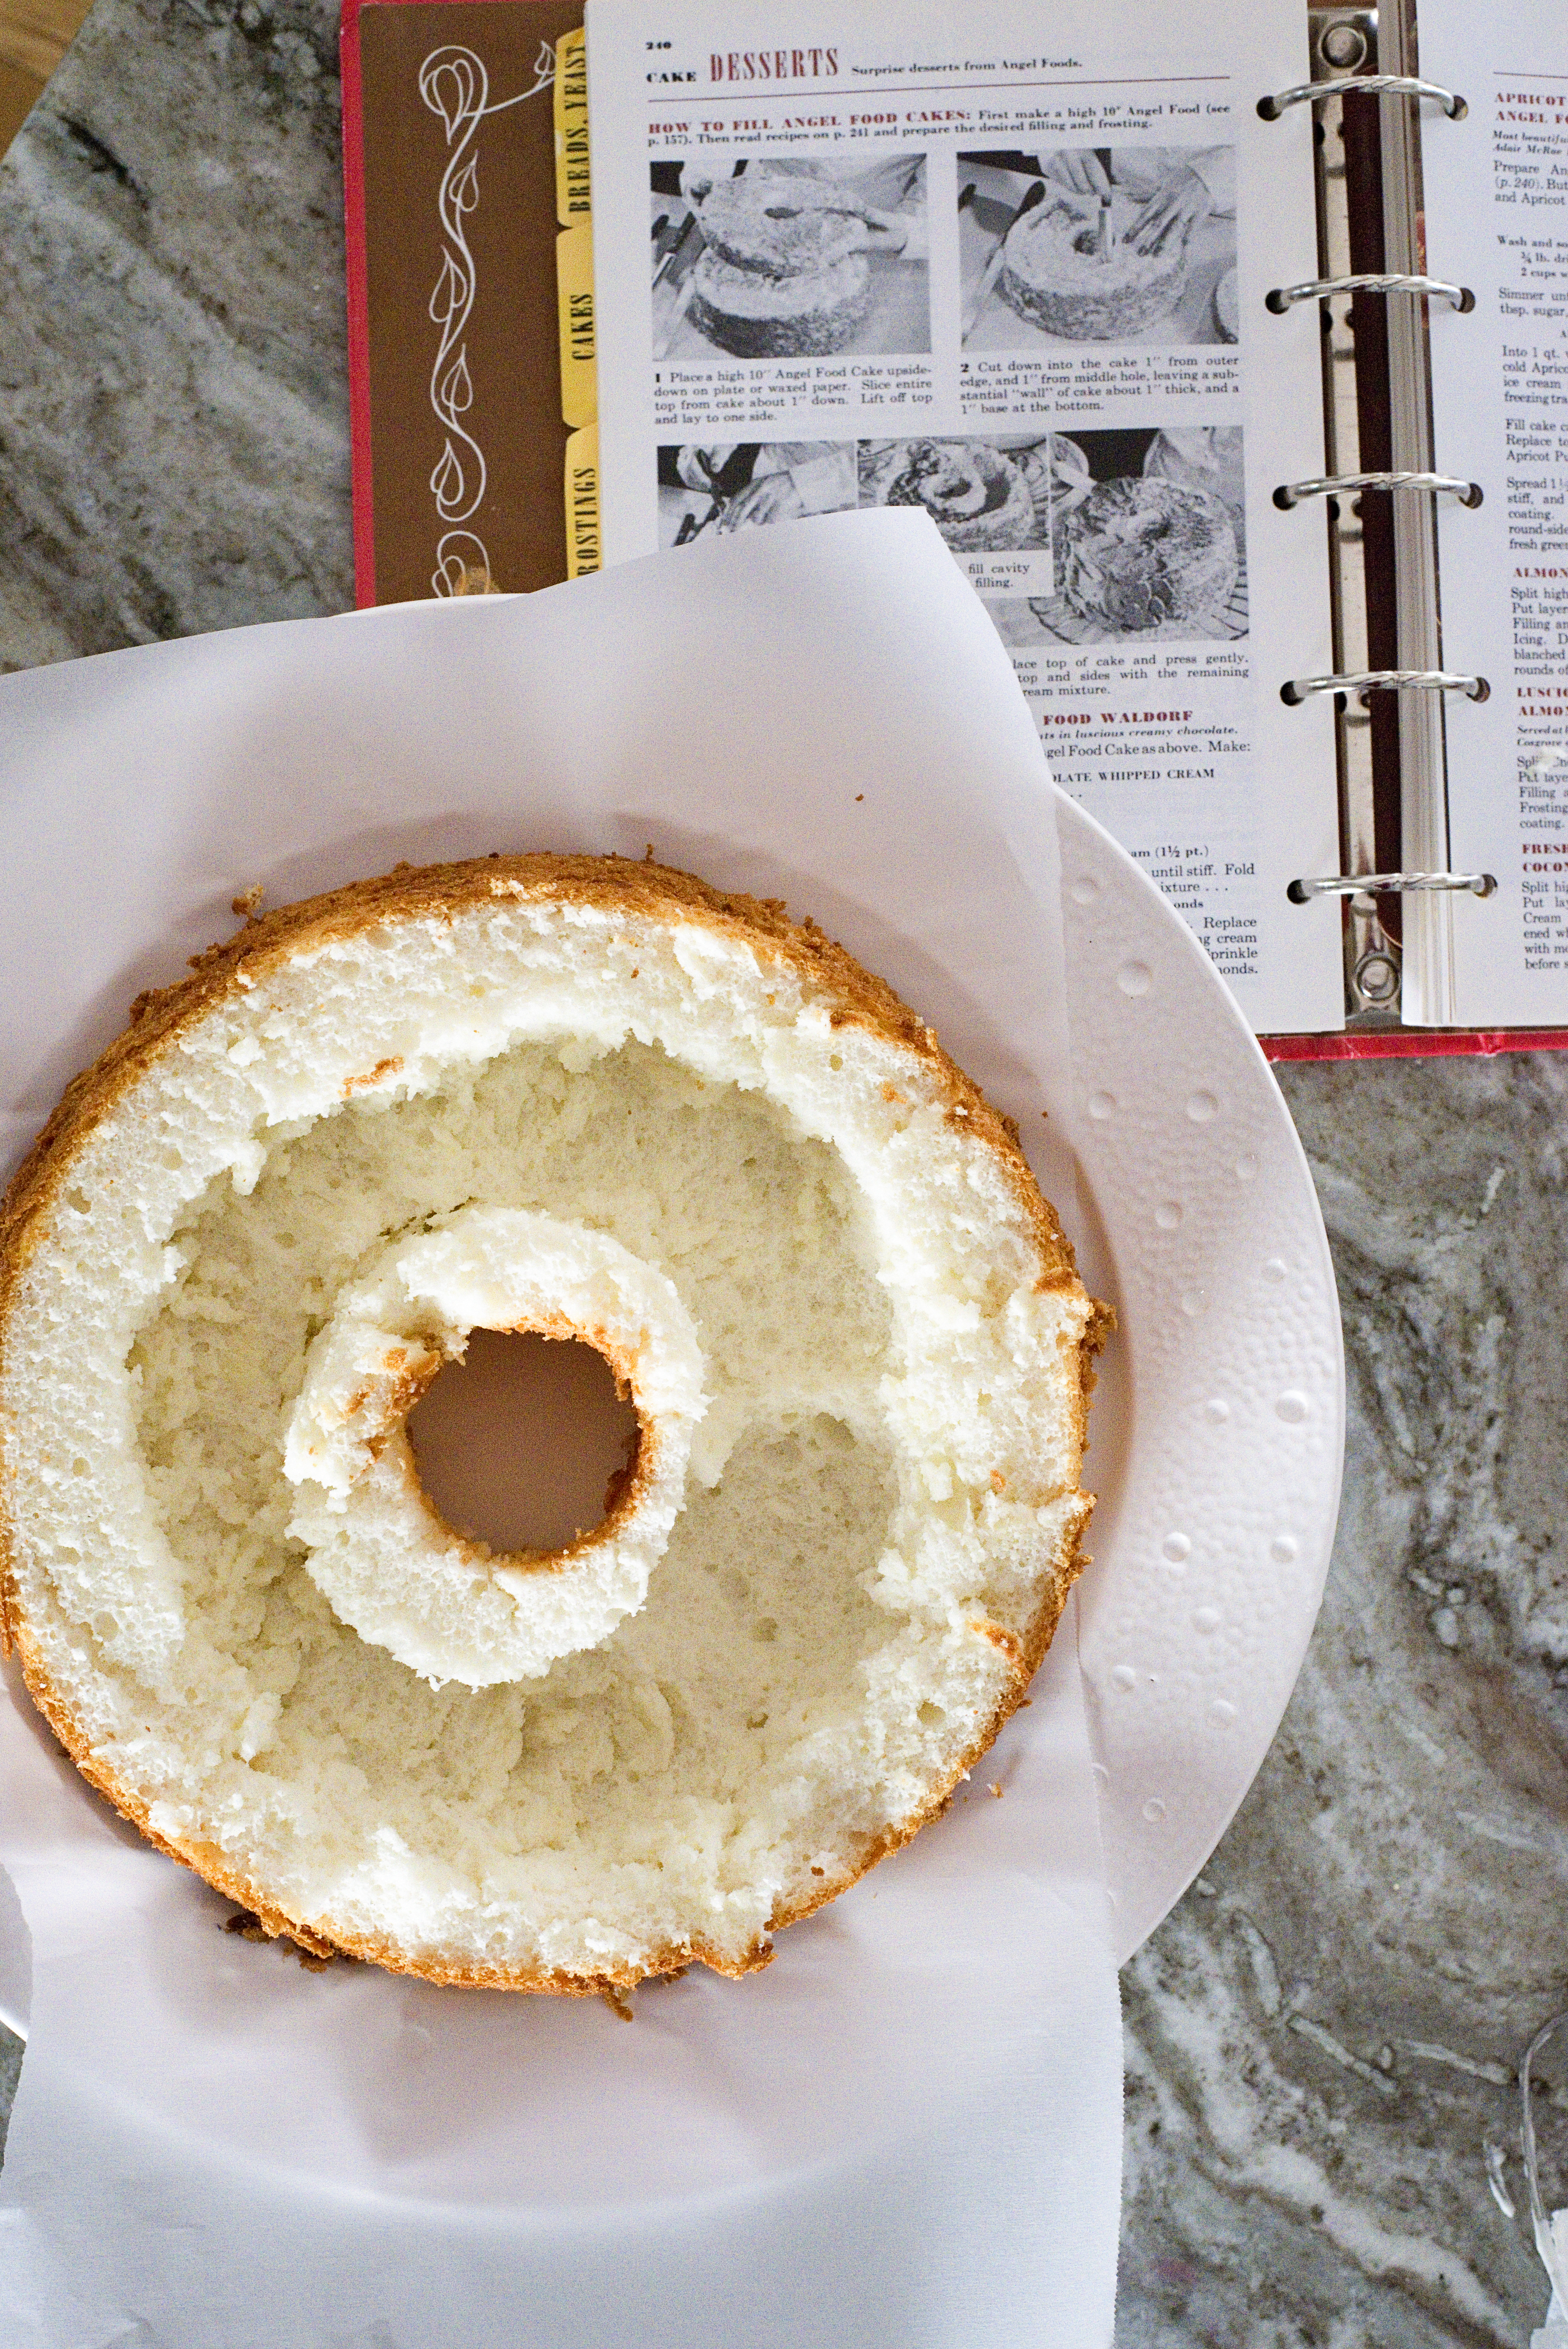
Once cool, run a knife around the edges of the pan. Slice the cake out the pan and carefully slice off the removable bottom. Set the cake golden brown side up on a cake platter or stand.
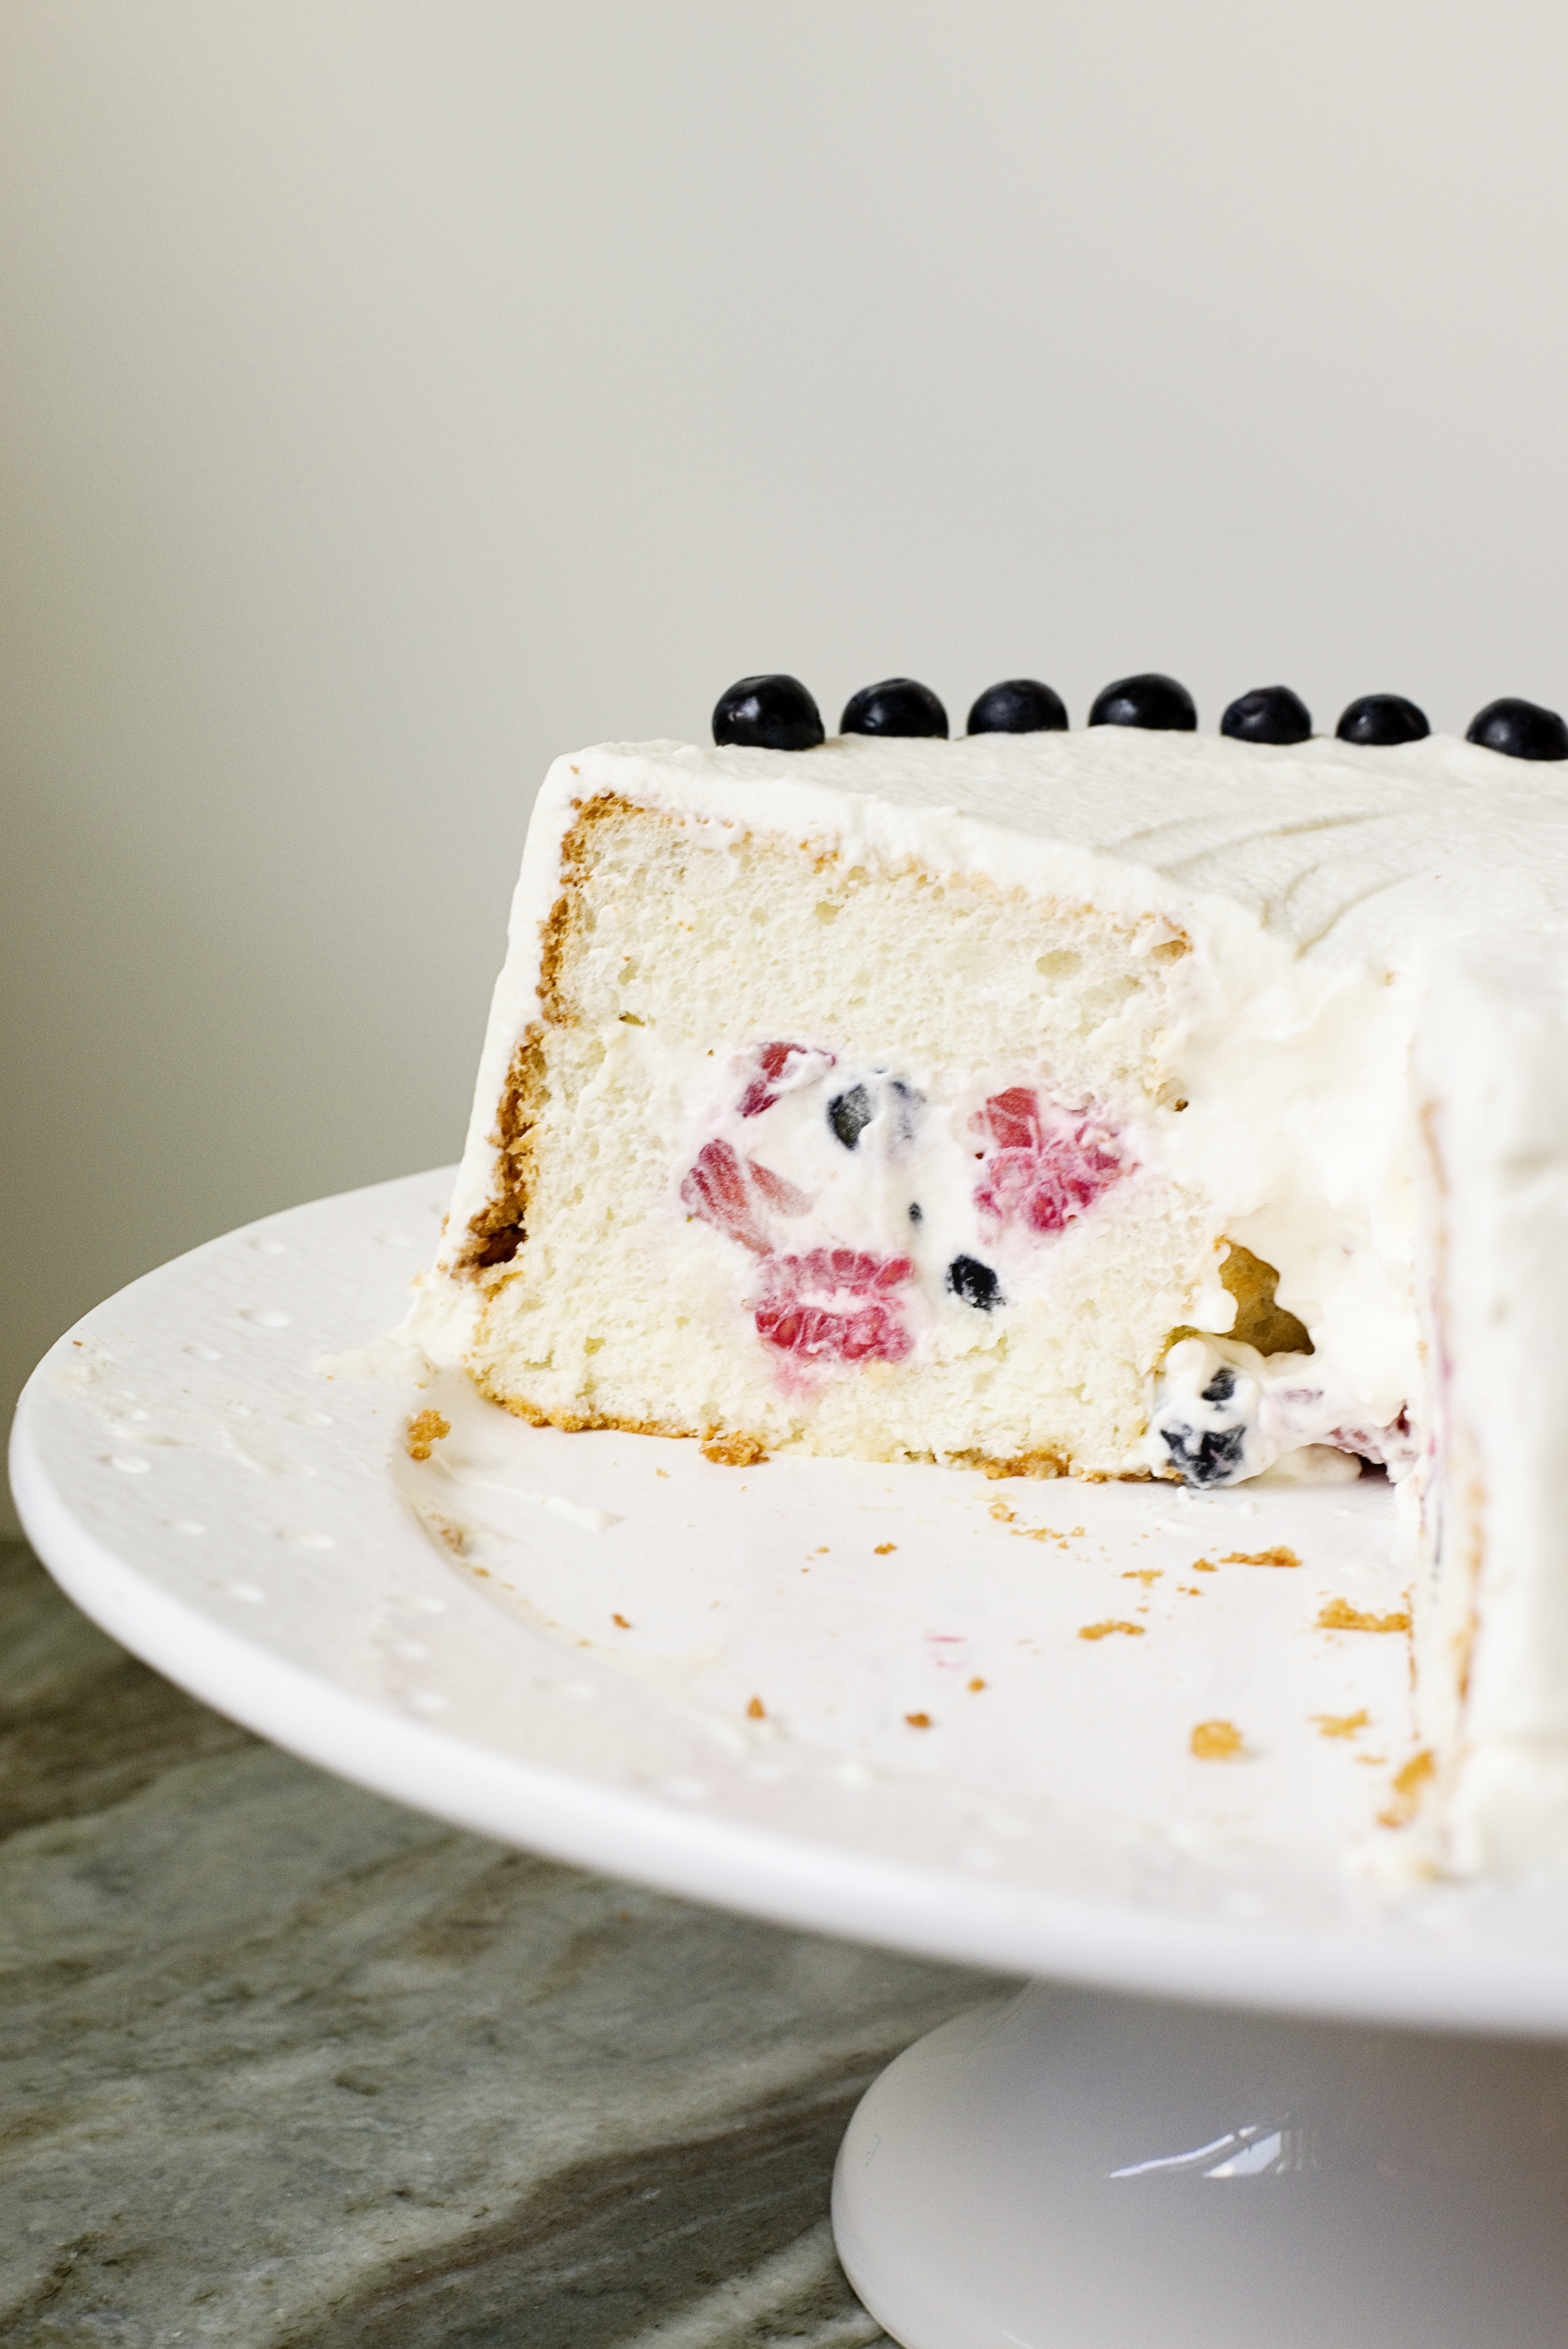
Using a serrated knife cut 1 inch the top of the cake off. Set aside. Carefully cut down into the cake, leaving a 1 inch border from the middle hole and cake “wall” and 1 inch base. Scope out the inside of the cake and set aside. (Keep the scraps for nibbling!)
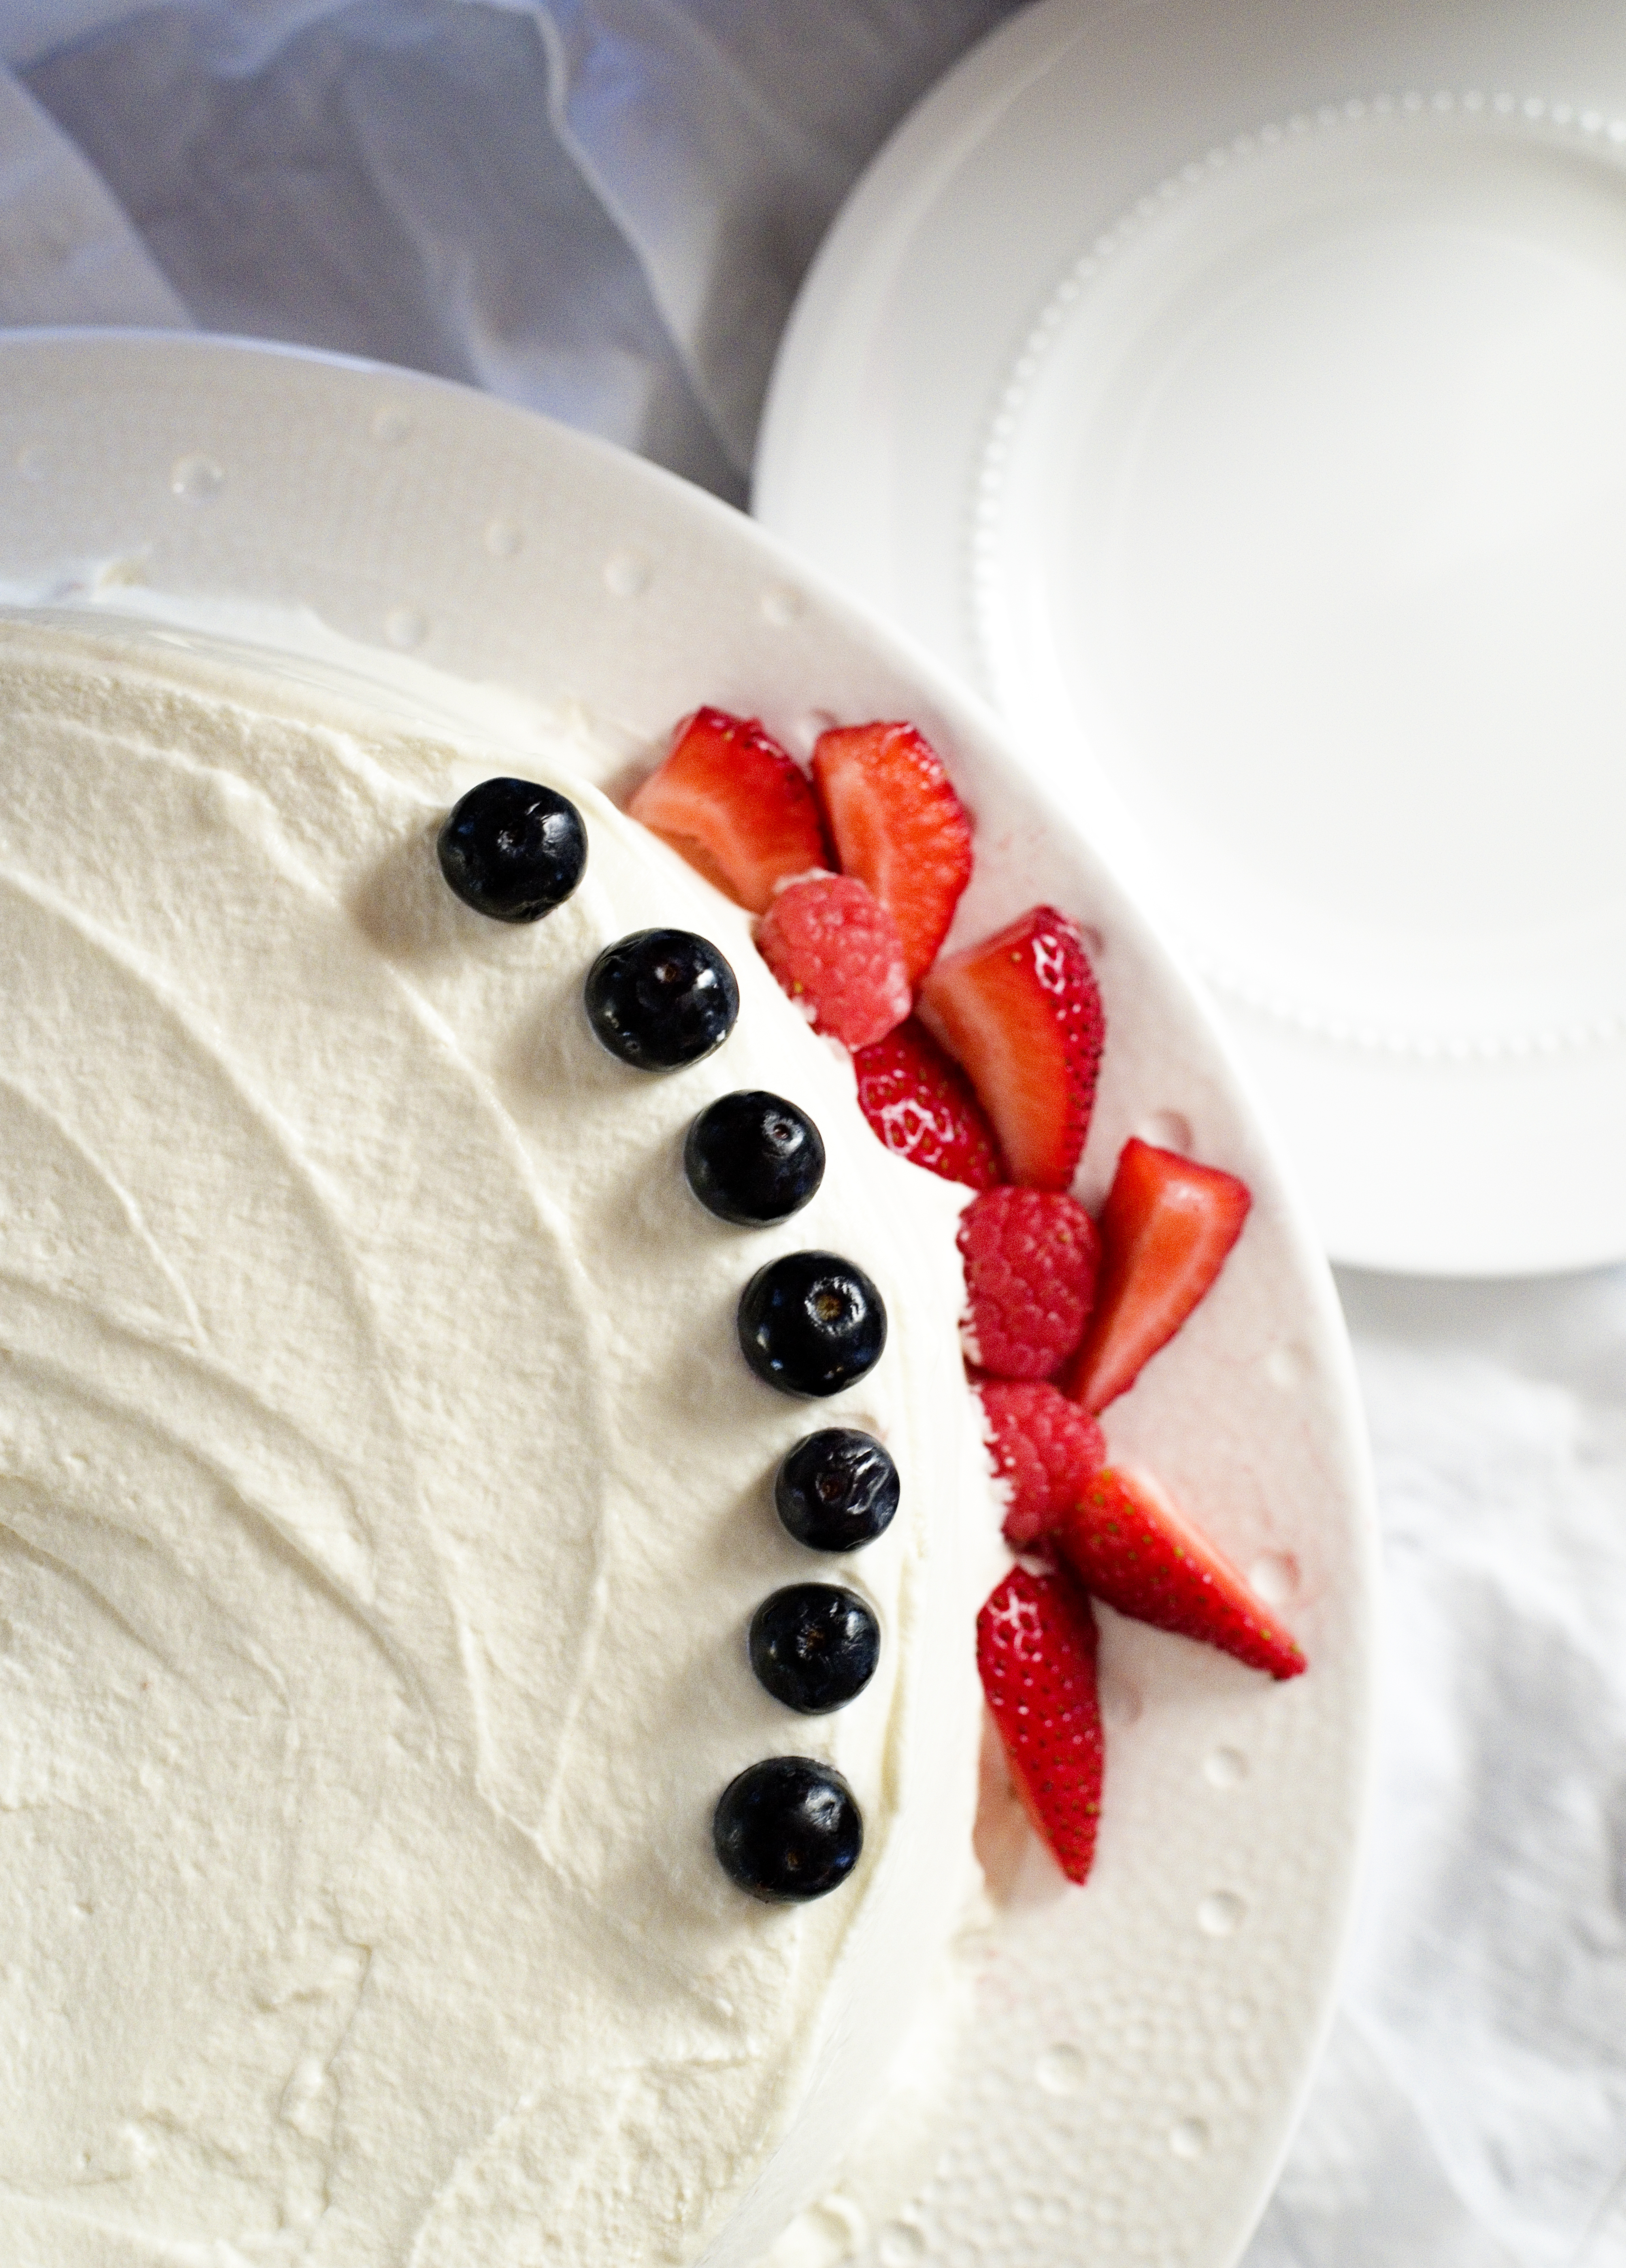
Fill the hollowed area of the cake with your honey whipped cream/berry mixture. Place cake top on and press gently. Cover the rest of the cake with the remaining whipped cream. Refrigerate for at least 4 hours or up to over-night. The cake, refrigerated, will last up to 2 days, but I doubt you will have leftovers. Enjoy!
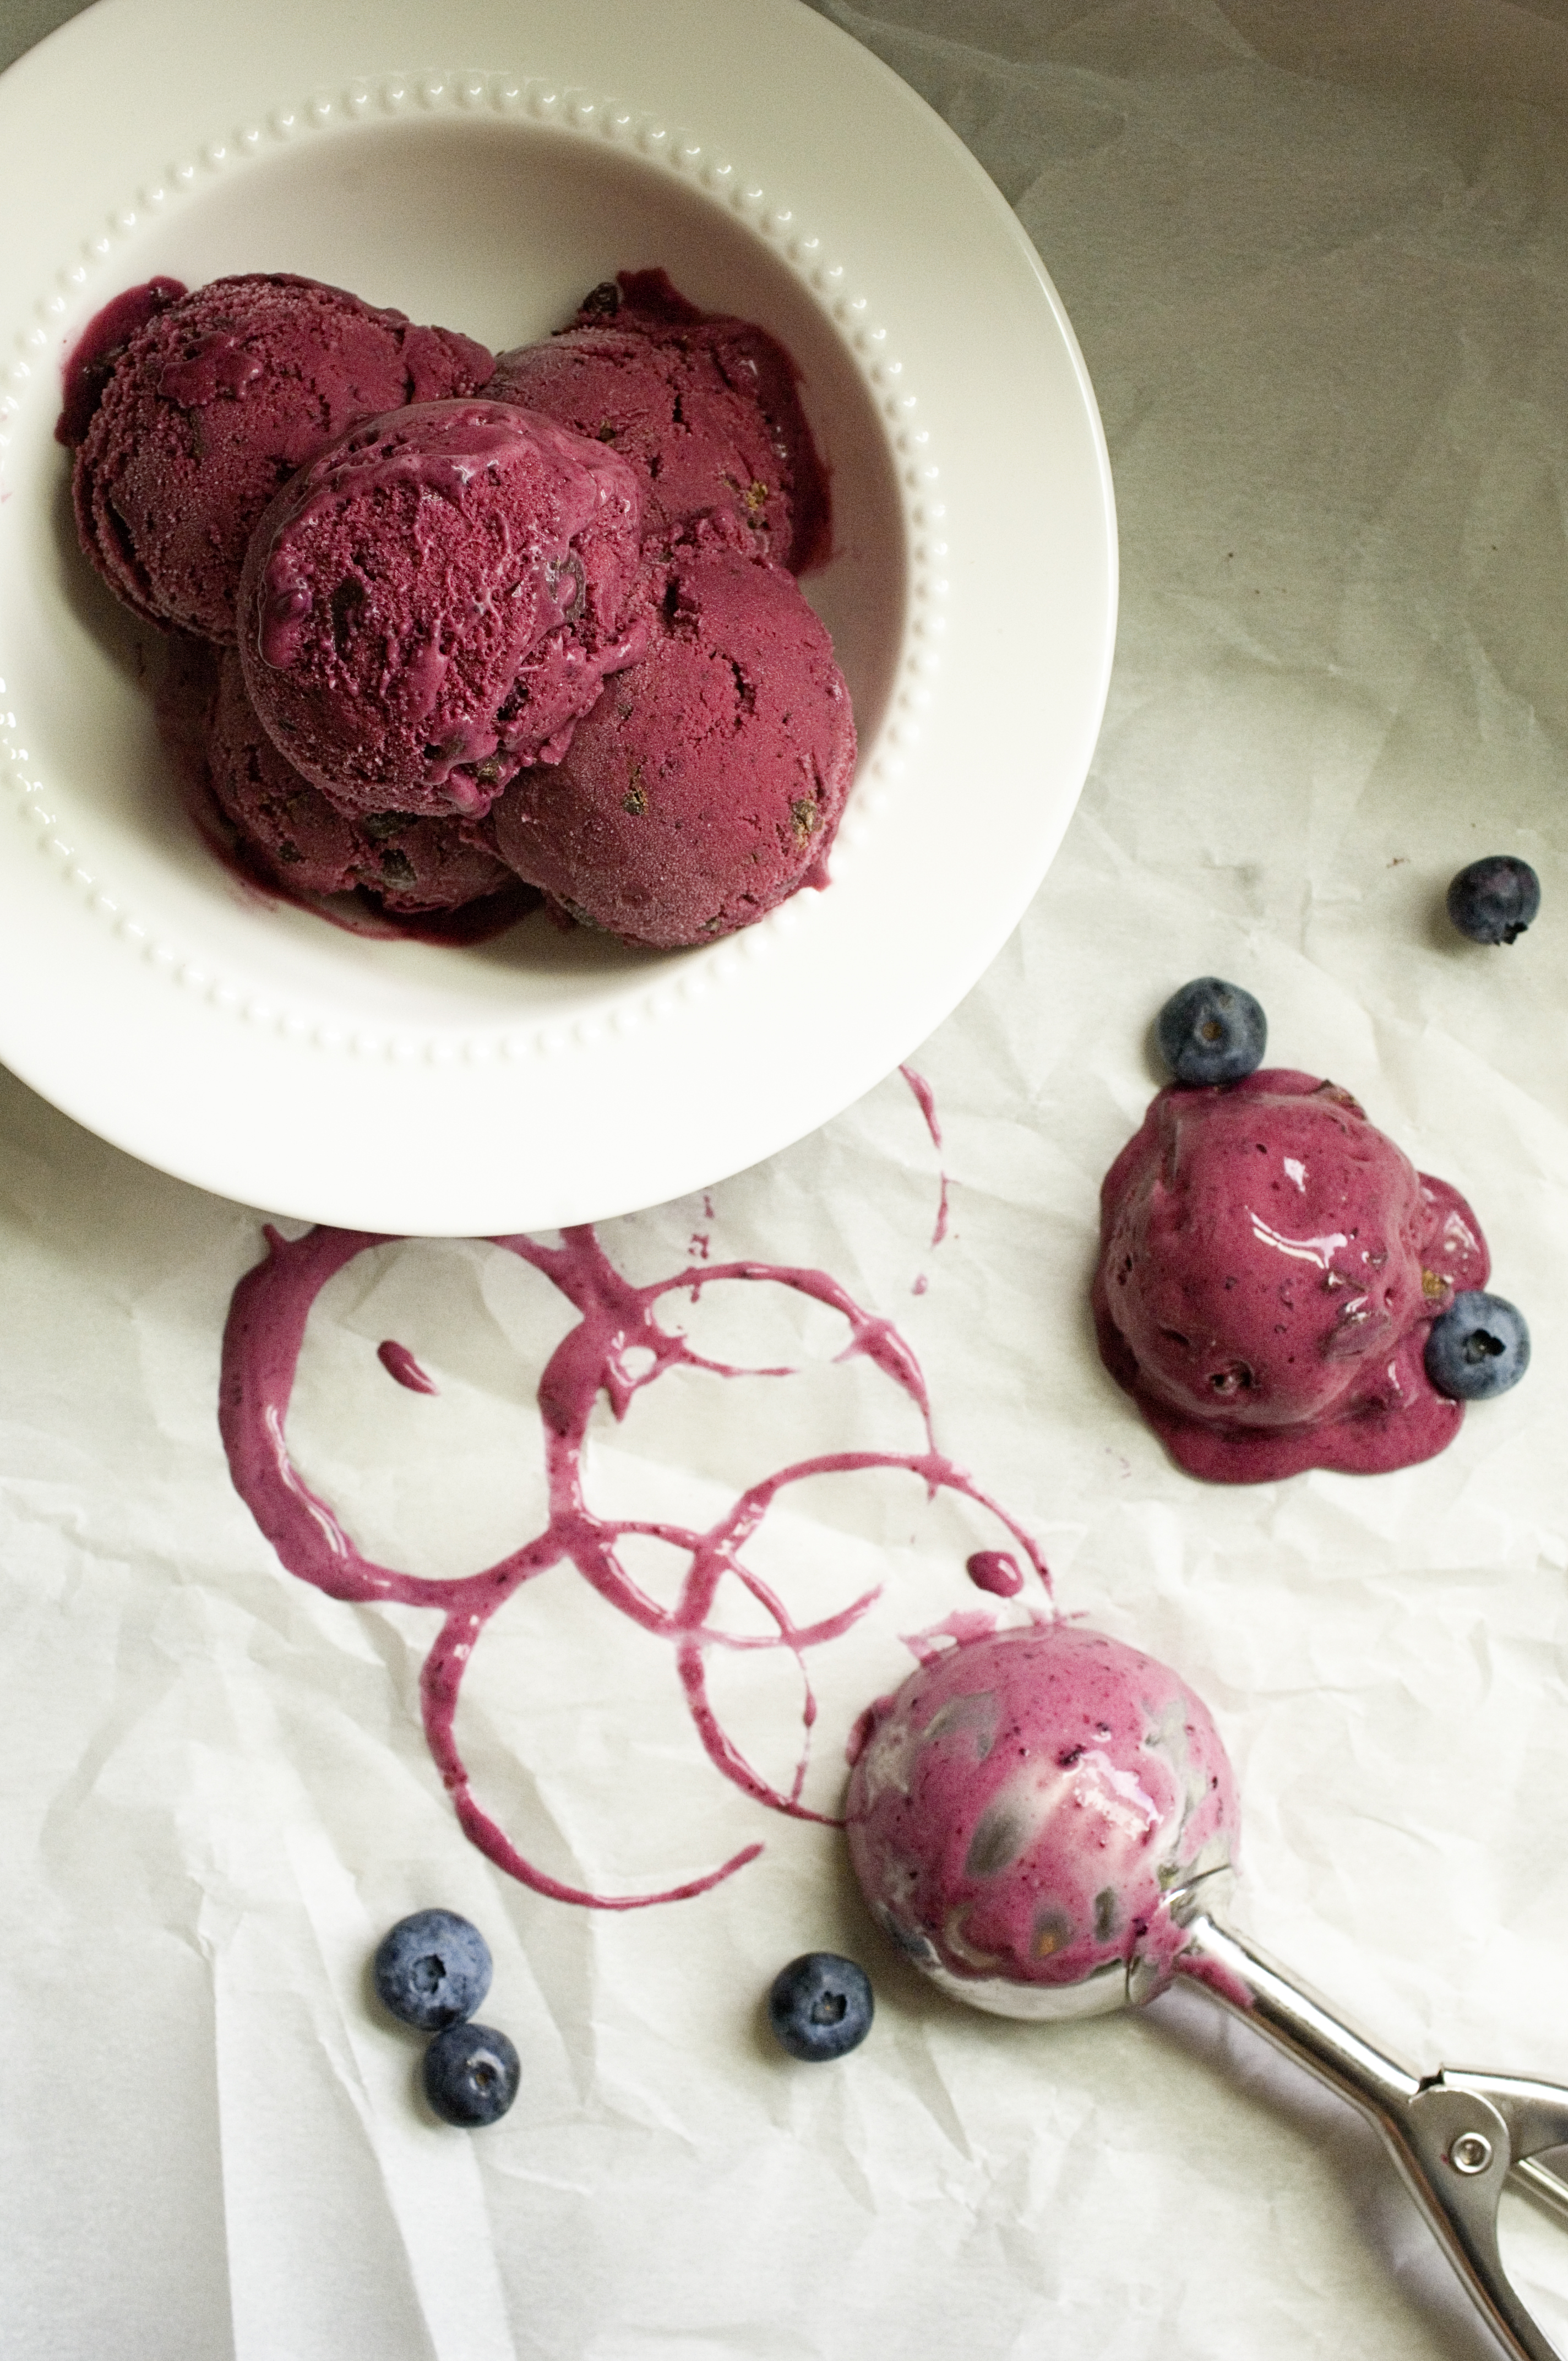
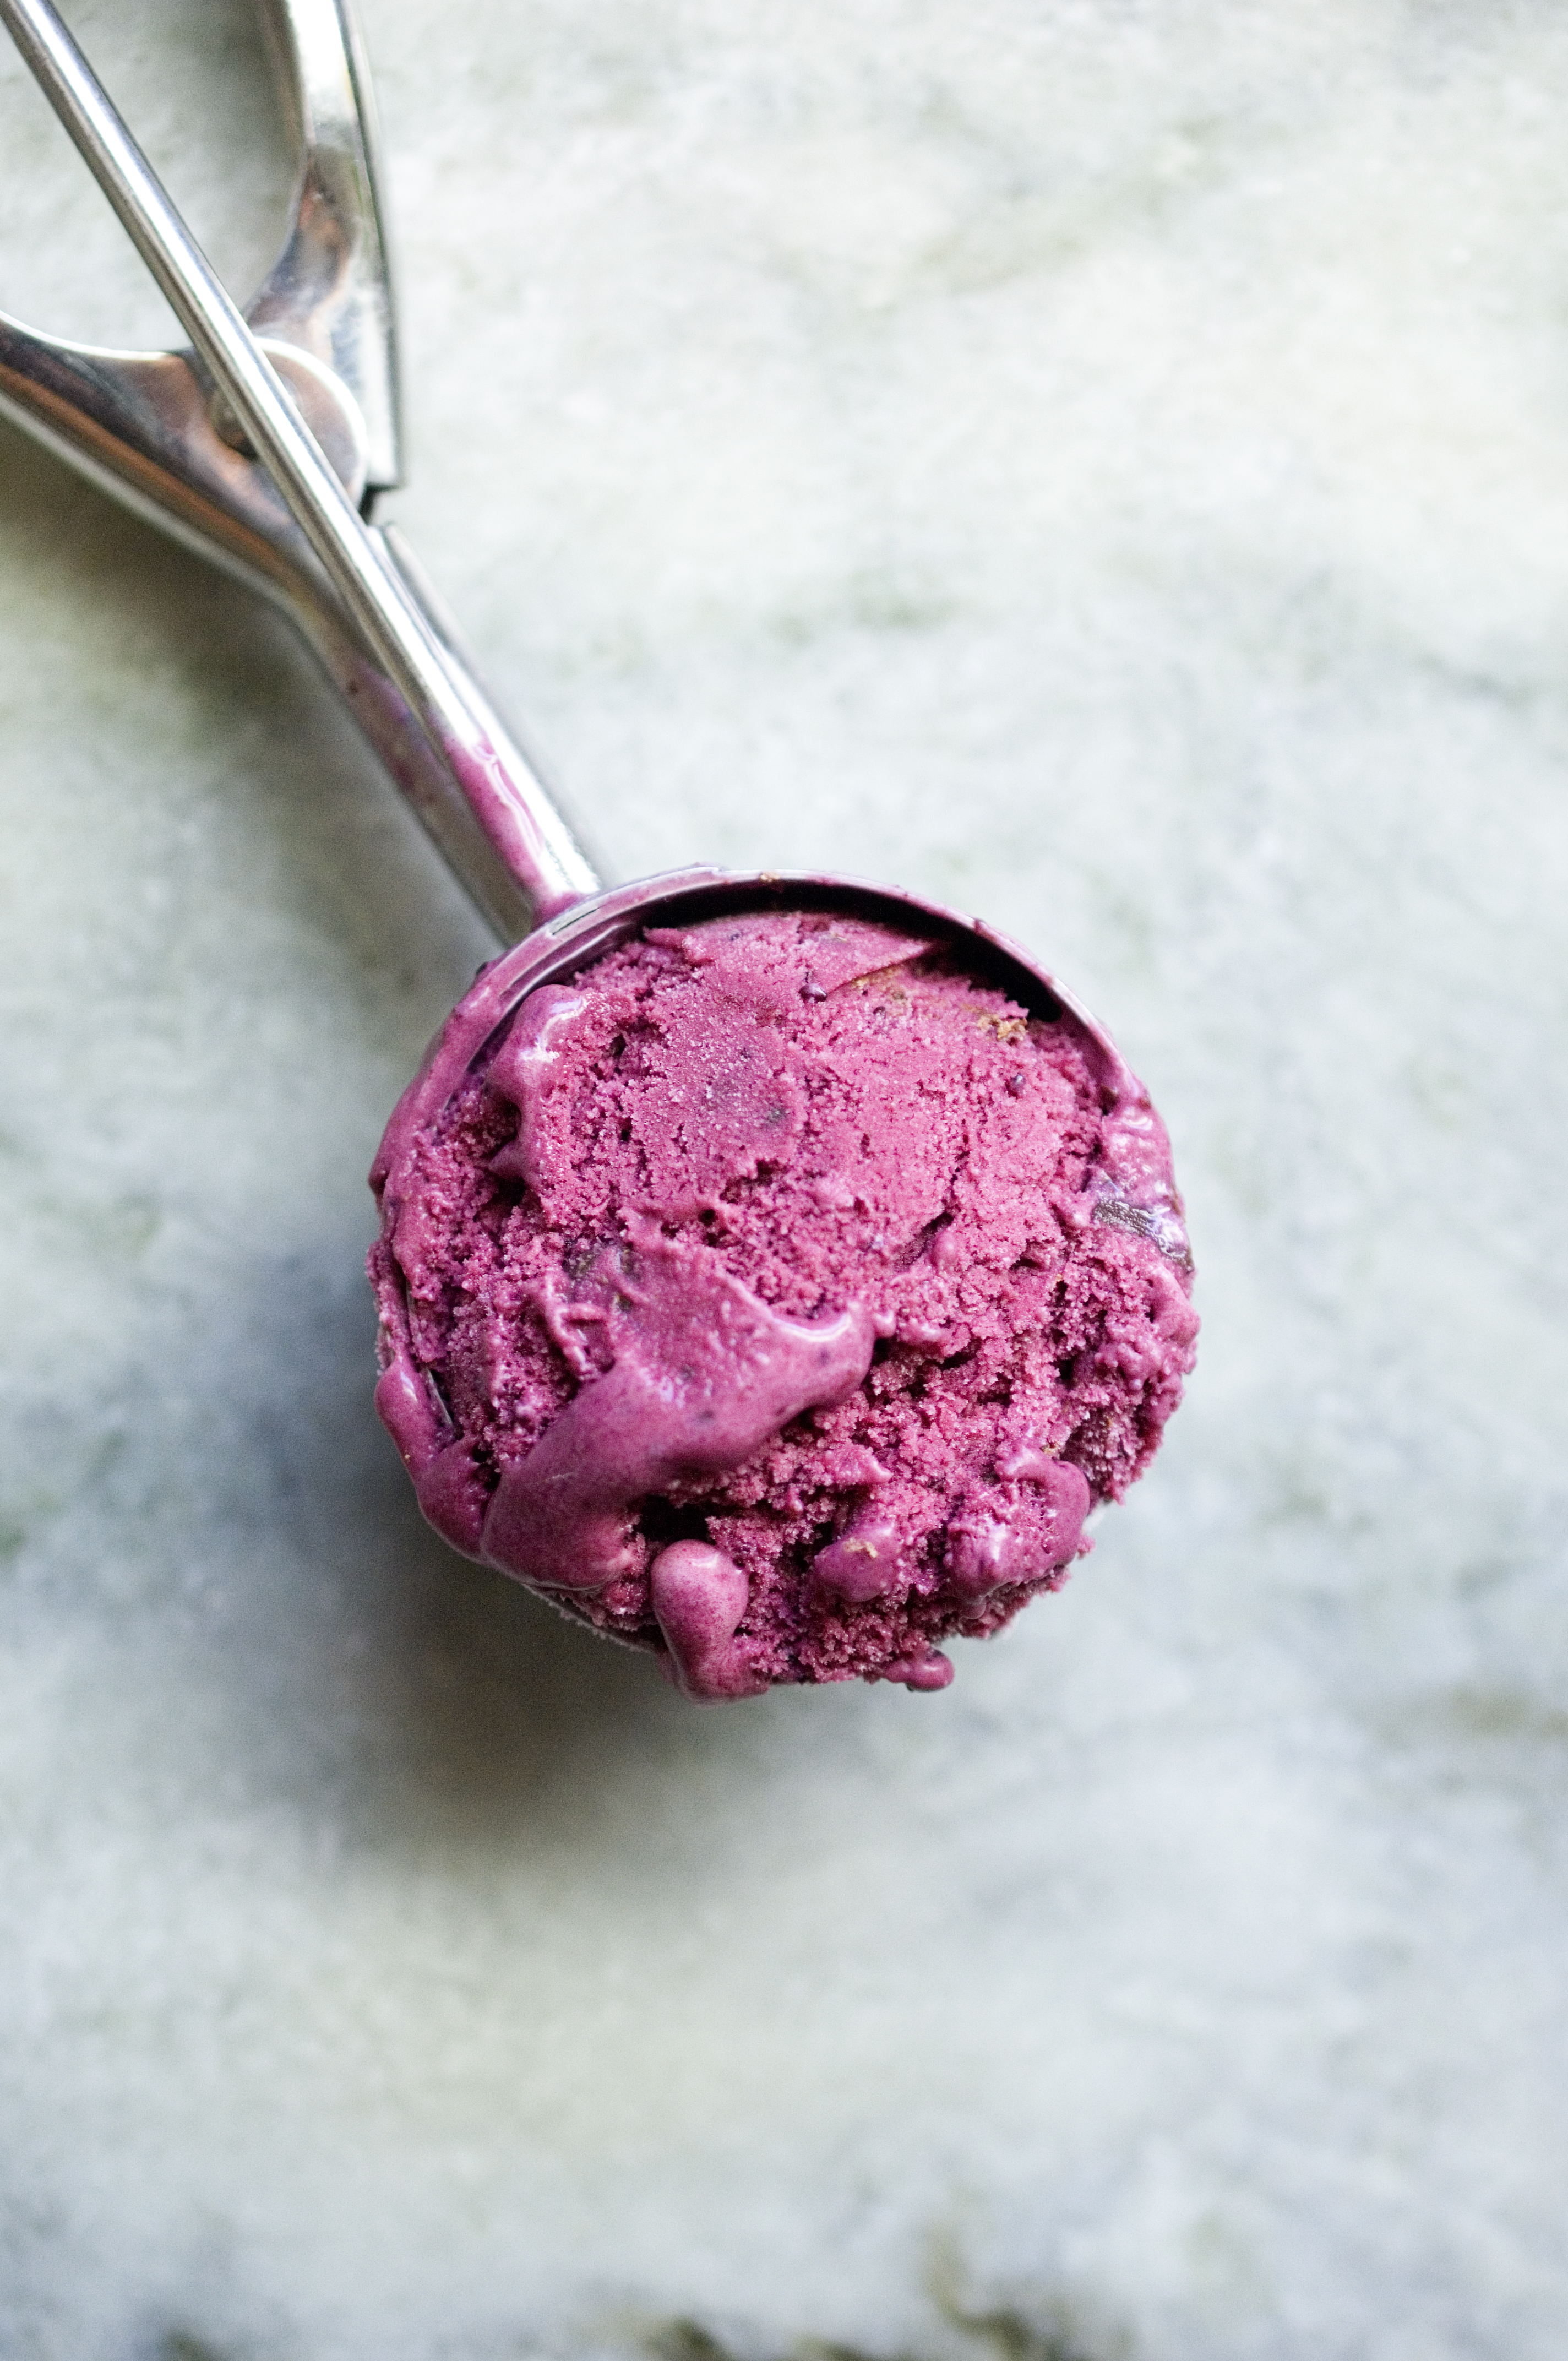
Honey Whipped Cream + Fresh Berry Mixture
Recipe adapted from Betty Crocker’s Picture Cookbook
Ingredients:
3 cups heavy cream
5-6 tablespoons of honey (light flavored)
1 teaspoon vanilla extract
1/2 cup blueberries
1/2 cup raspberries
1 cup strawberries, hulled and sliced in quarters
Directions:
Start with a chilled bowl and beater. Add cold heavy cream to the bowl and beat until the cream thickens. Add honey and vanilla and continue to beat until the cream creates stiff peaks. Be careful not to overbeat! Remove less than half of the whipped cream and place in a small bowl. (Set aside remaining whipped cream.) Using a rubber spatula fold in the berries. Use the berry mixture to fill the cake and use the remaining whip cream to cover the entire cake.
**You can make the whipped cream (without the berries) ahead of time. Be sure to store it in an air-tight container in the fridge. It will stay fresh for up to 10 hours. Whisk for about 10 minutes before using and then proceed with the recipe.**
5 Retro Cake Links for Spring
Love upside down cakes? Try Sally’s Baking Addictions Pineapple Upside-Down Cake made from scratch!
For the coconut lovers in your life make Coconut Queen Party Cake with Marshmallow Frosting. Head to Mid-Century Menu for the recipe.
I just discovered the Lady Baltimore Cake today and apparently it is Martha Stewart’s’ favorite. Check it out here.
If you need a simple, old fashion cake make Betty’s Banana Layer Cake. I love all things banana so this is going on my must make list.
My grandmother use to make this delightful and tasty chocolate cake roll all the time. Thanks for reminding me Smitten Kitchen!


